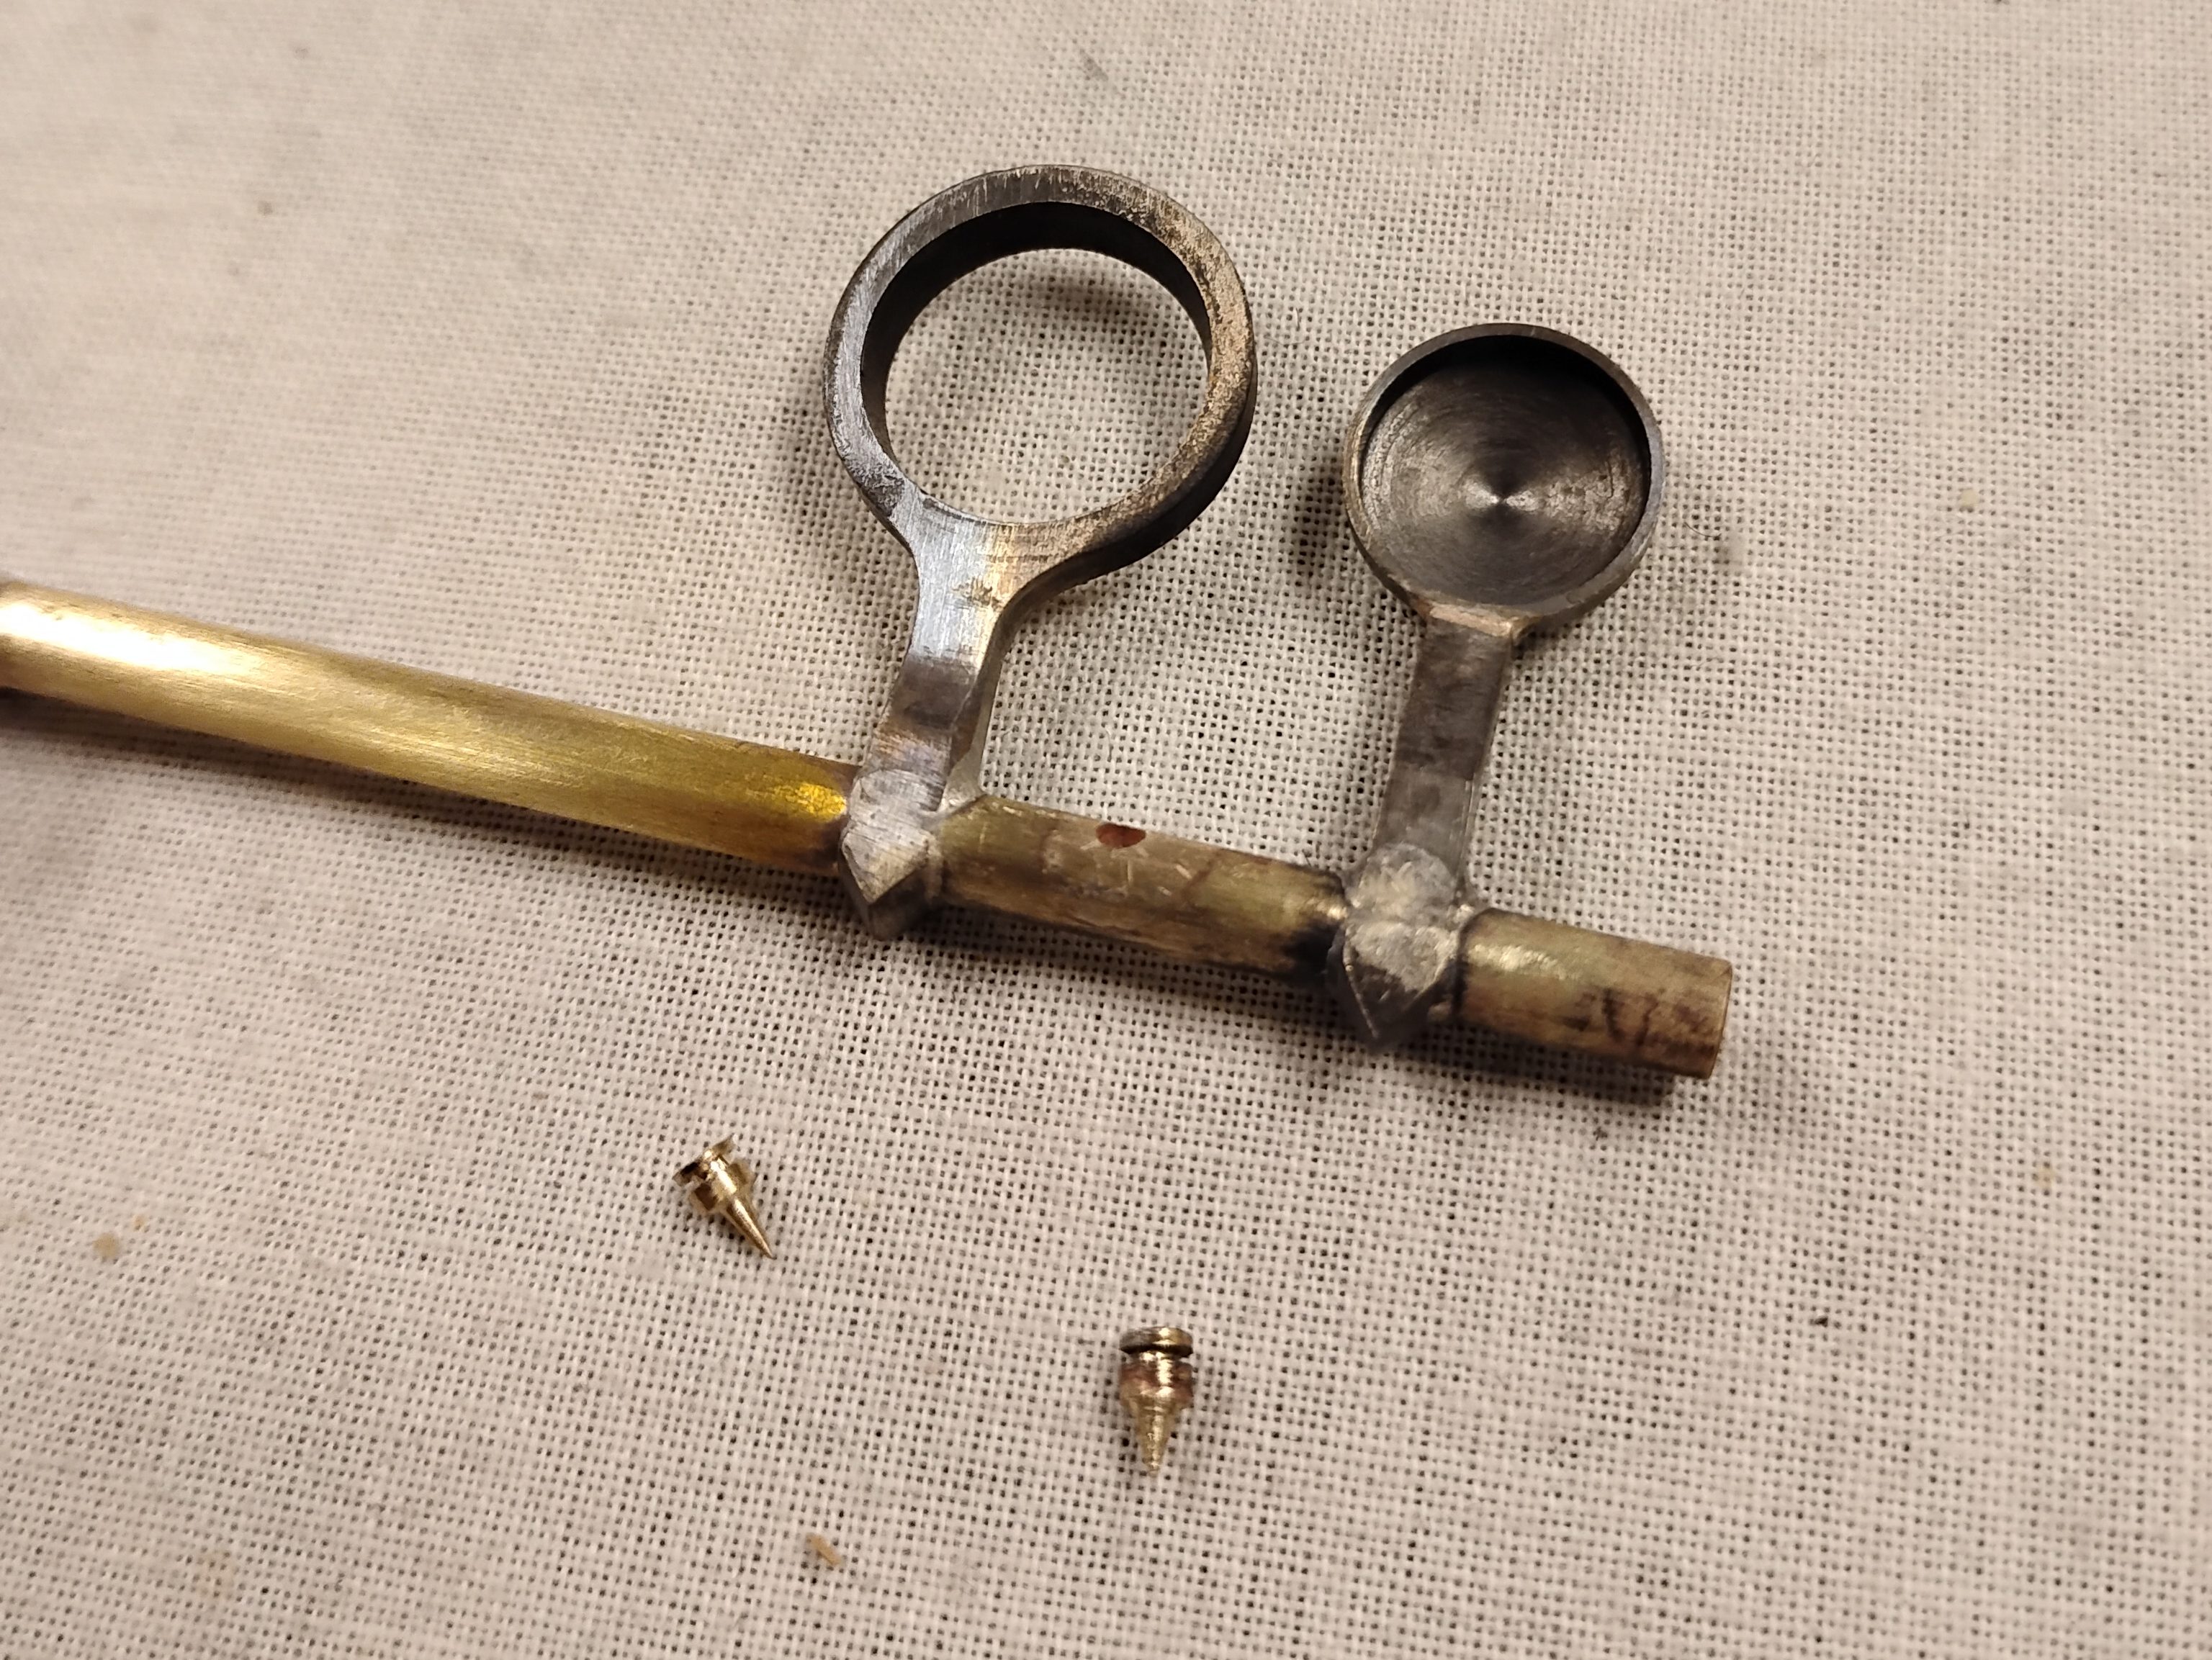
OH boy, this is one of the most satisfying projects I’ve gotten to do here yet. Knockpins were rad as hell, but putting together a whole key from its disparate components has been a ton a fun. I started with a Bb clarinet’s A/D ring key upper bridge, ring, and key, and a solid brass rod (which conveniently already had some holes drilled at the ends, though they weren’t uniform, and I had to trim off one end anyway).
The first step was to fit the keys to the brass rod. They already had splits cut into the bottom of the attachment points, but the ring and the key cup were both too small for the brass rod, and the upper bridge was a little big. To widen the openings, I didn’t want bend the metal (and ruin the roundness, which would mean a larger gap to fill with solder), so I filed out the hole in the arm using a rat-tail file. The connection point for the upper bridge was a little too wide, so I tapped on it with a mallet to close that split a little. I need these to hold themselves on the rod at the correct angle while I solder them, or my key won’t fit on the instrument the way I need it to. I’m matching the spacing and the angles to a key from another horn.
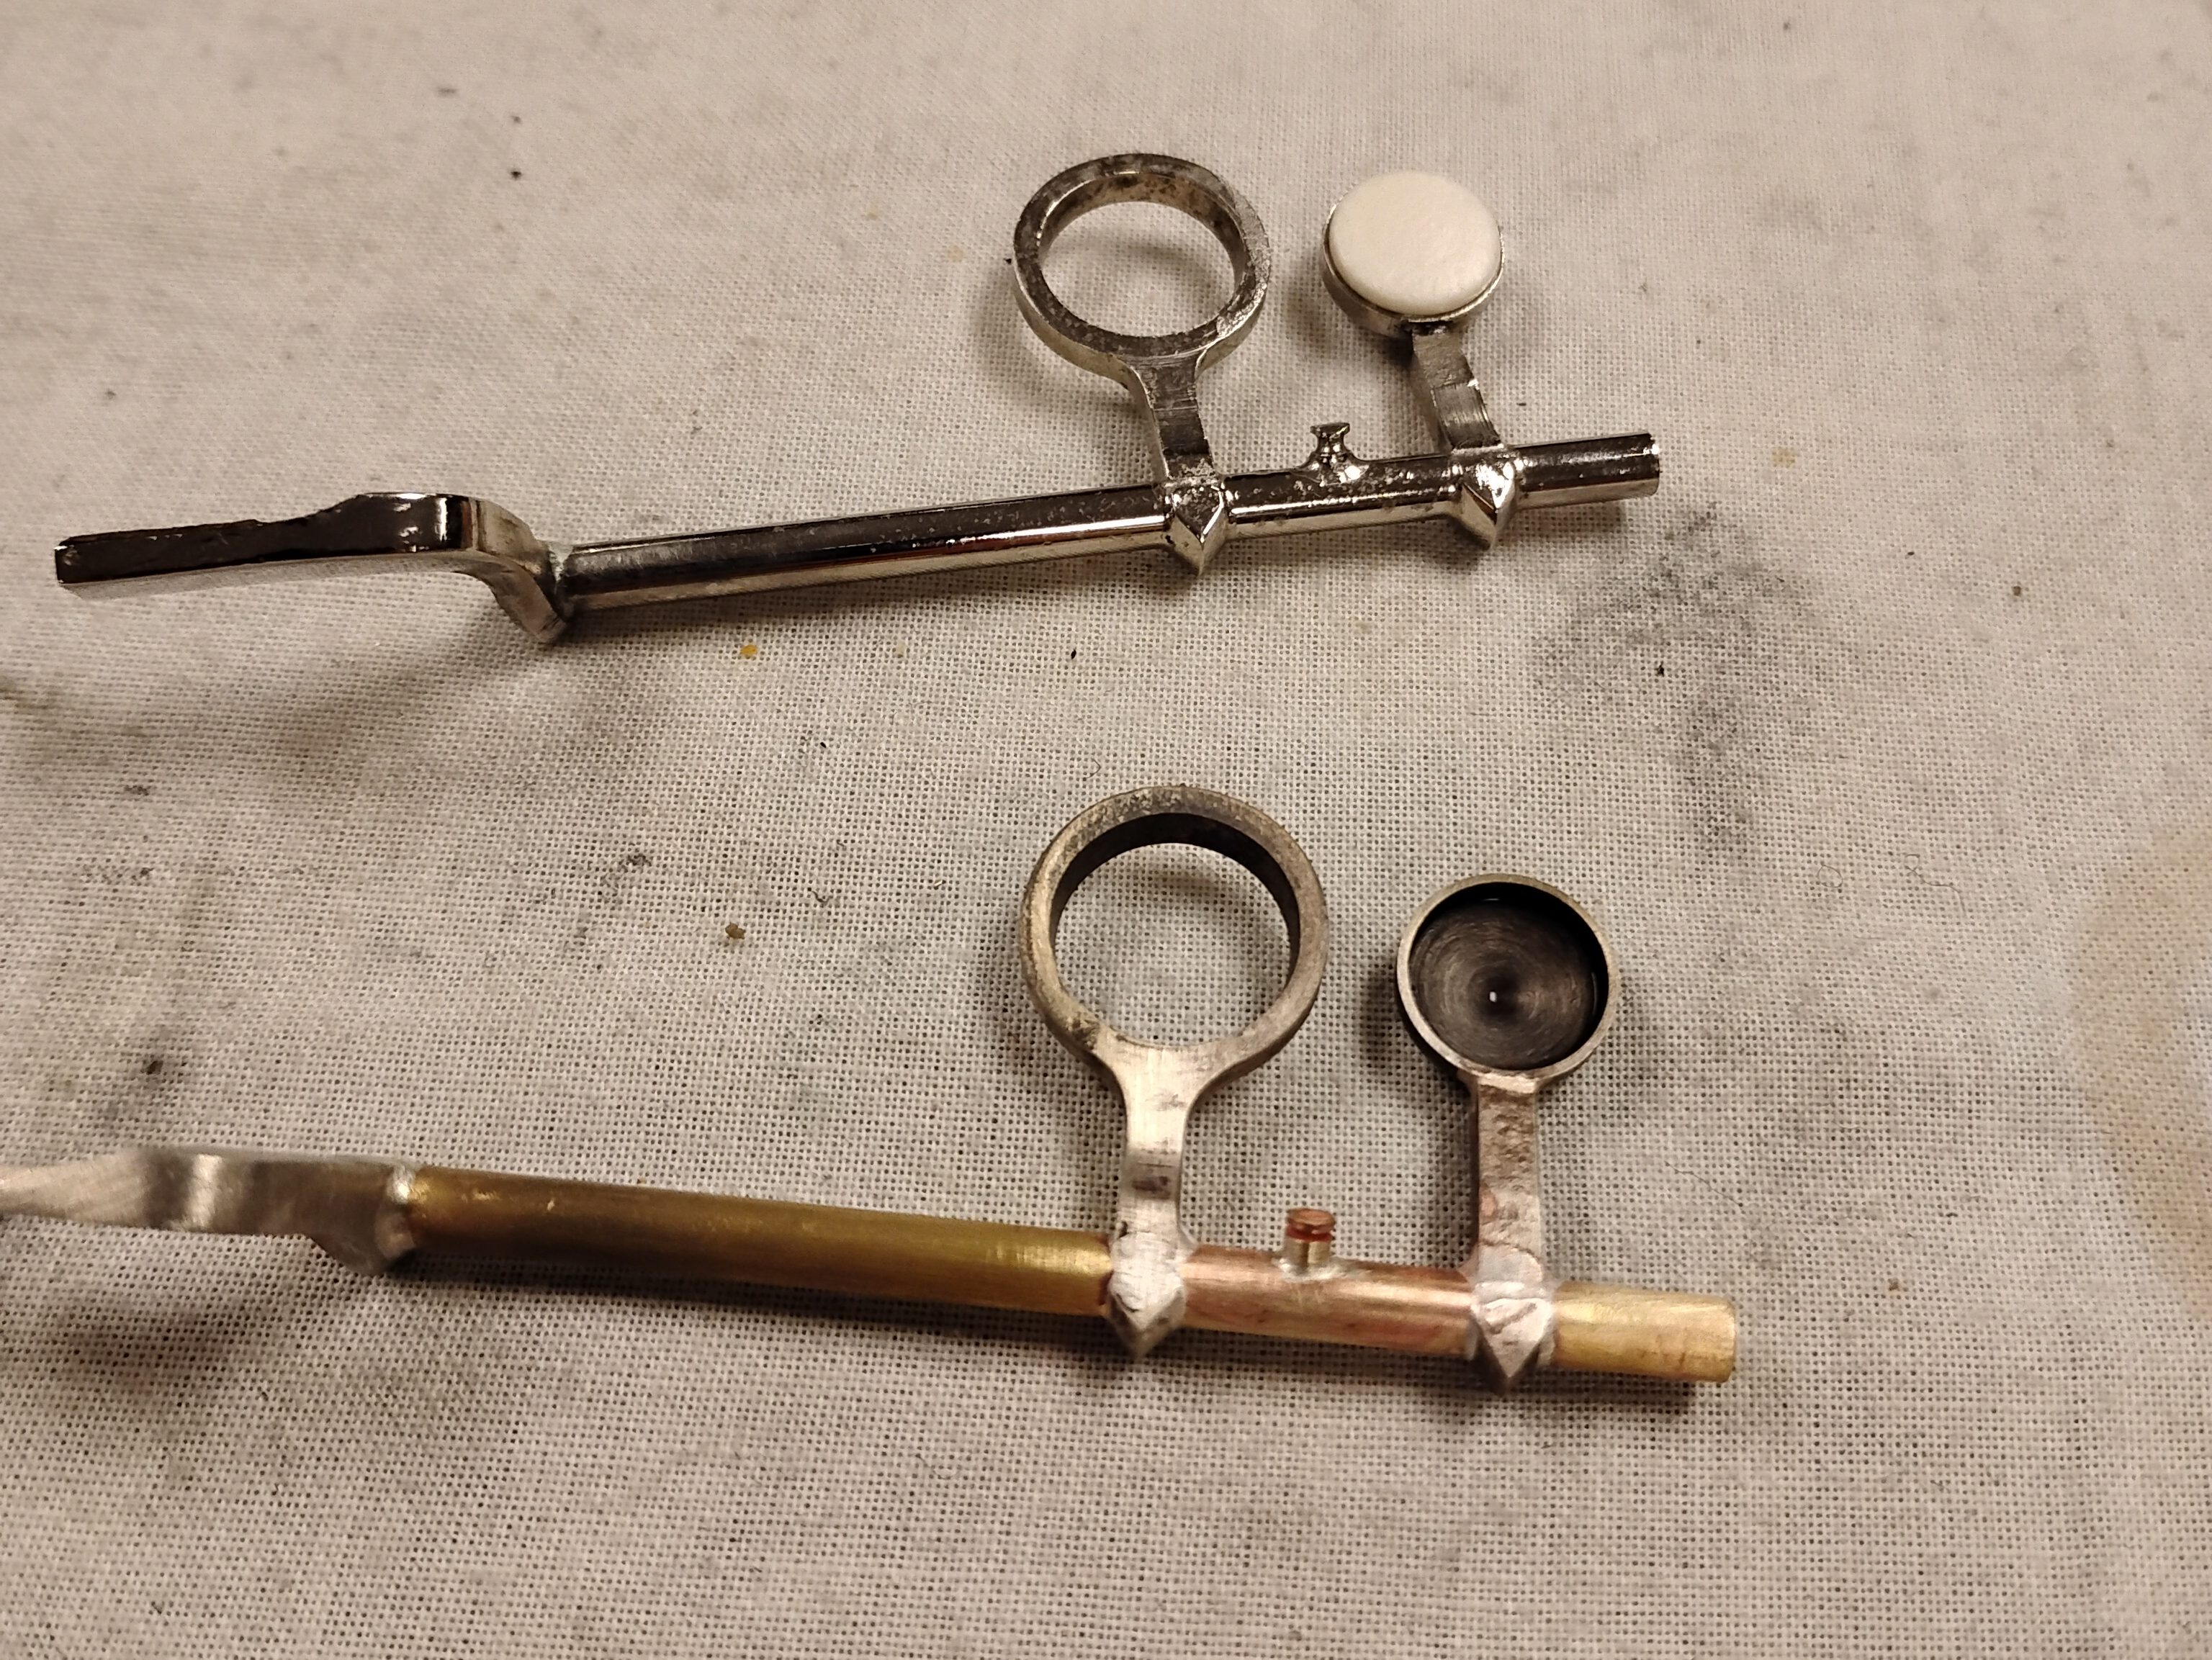
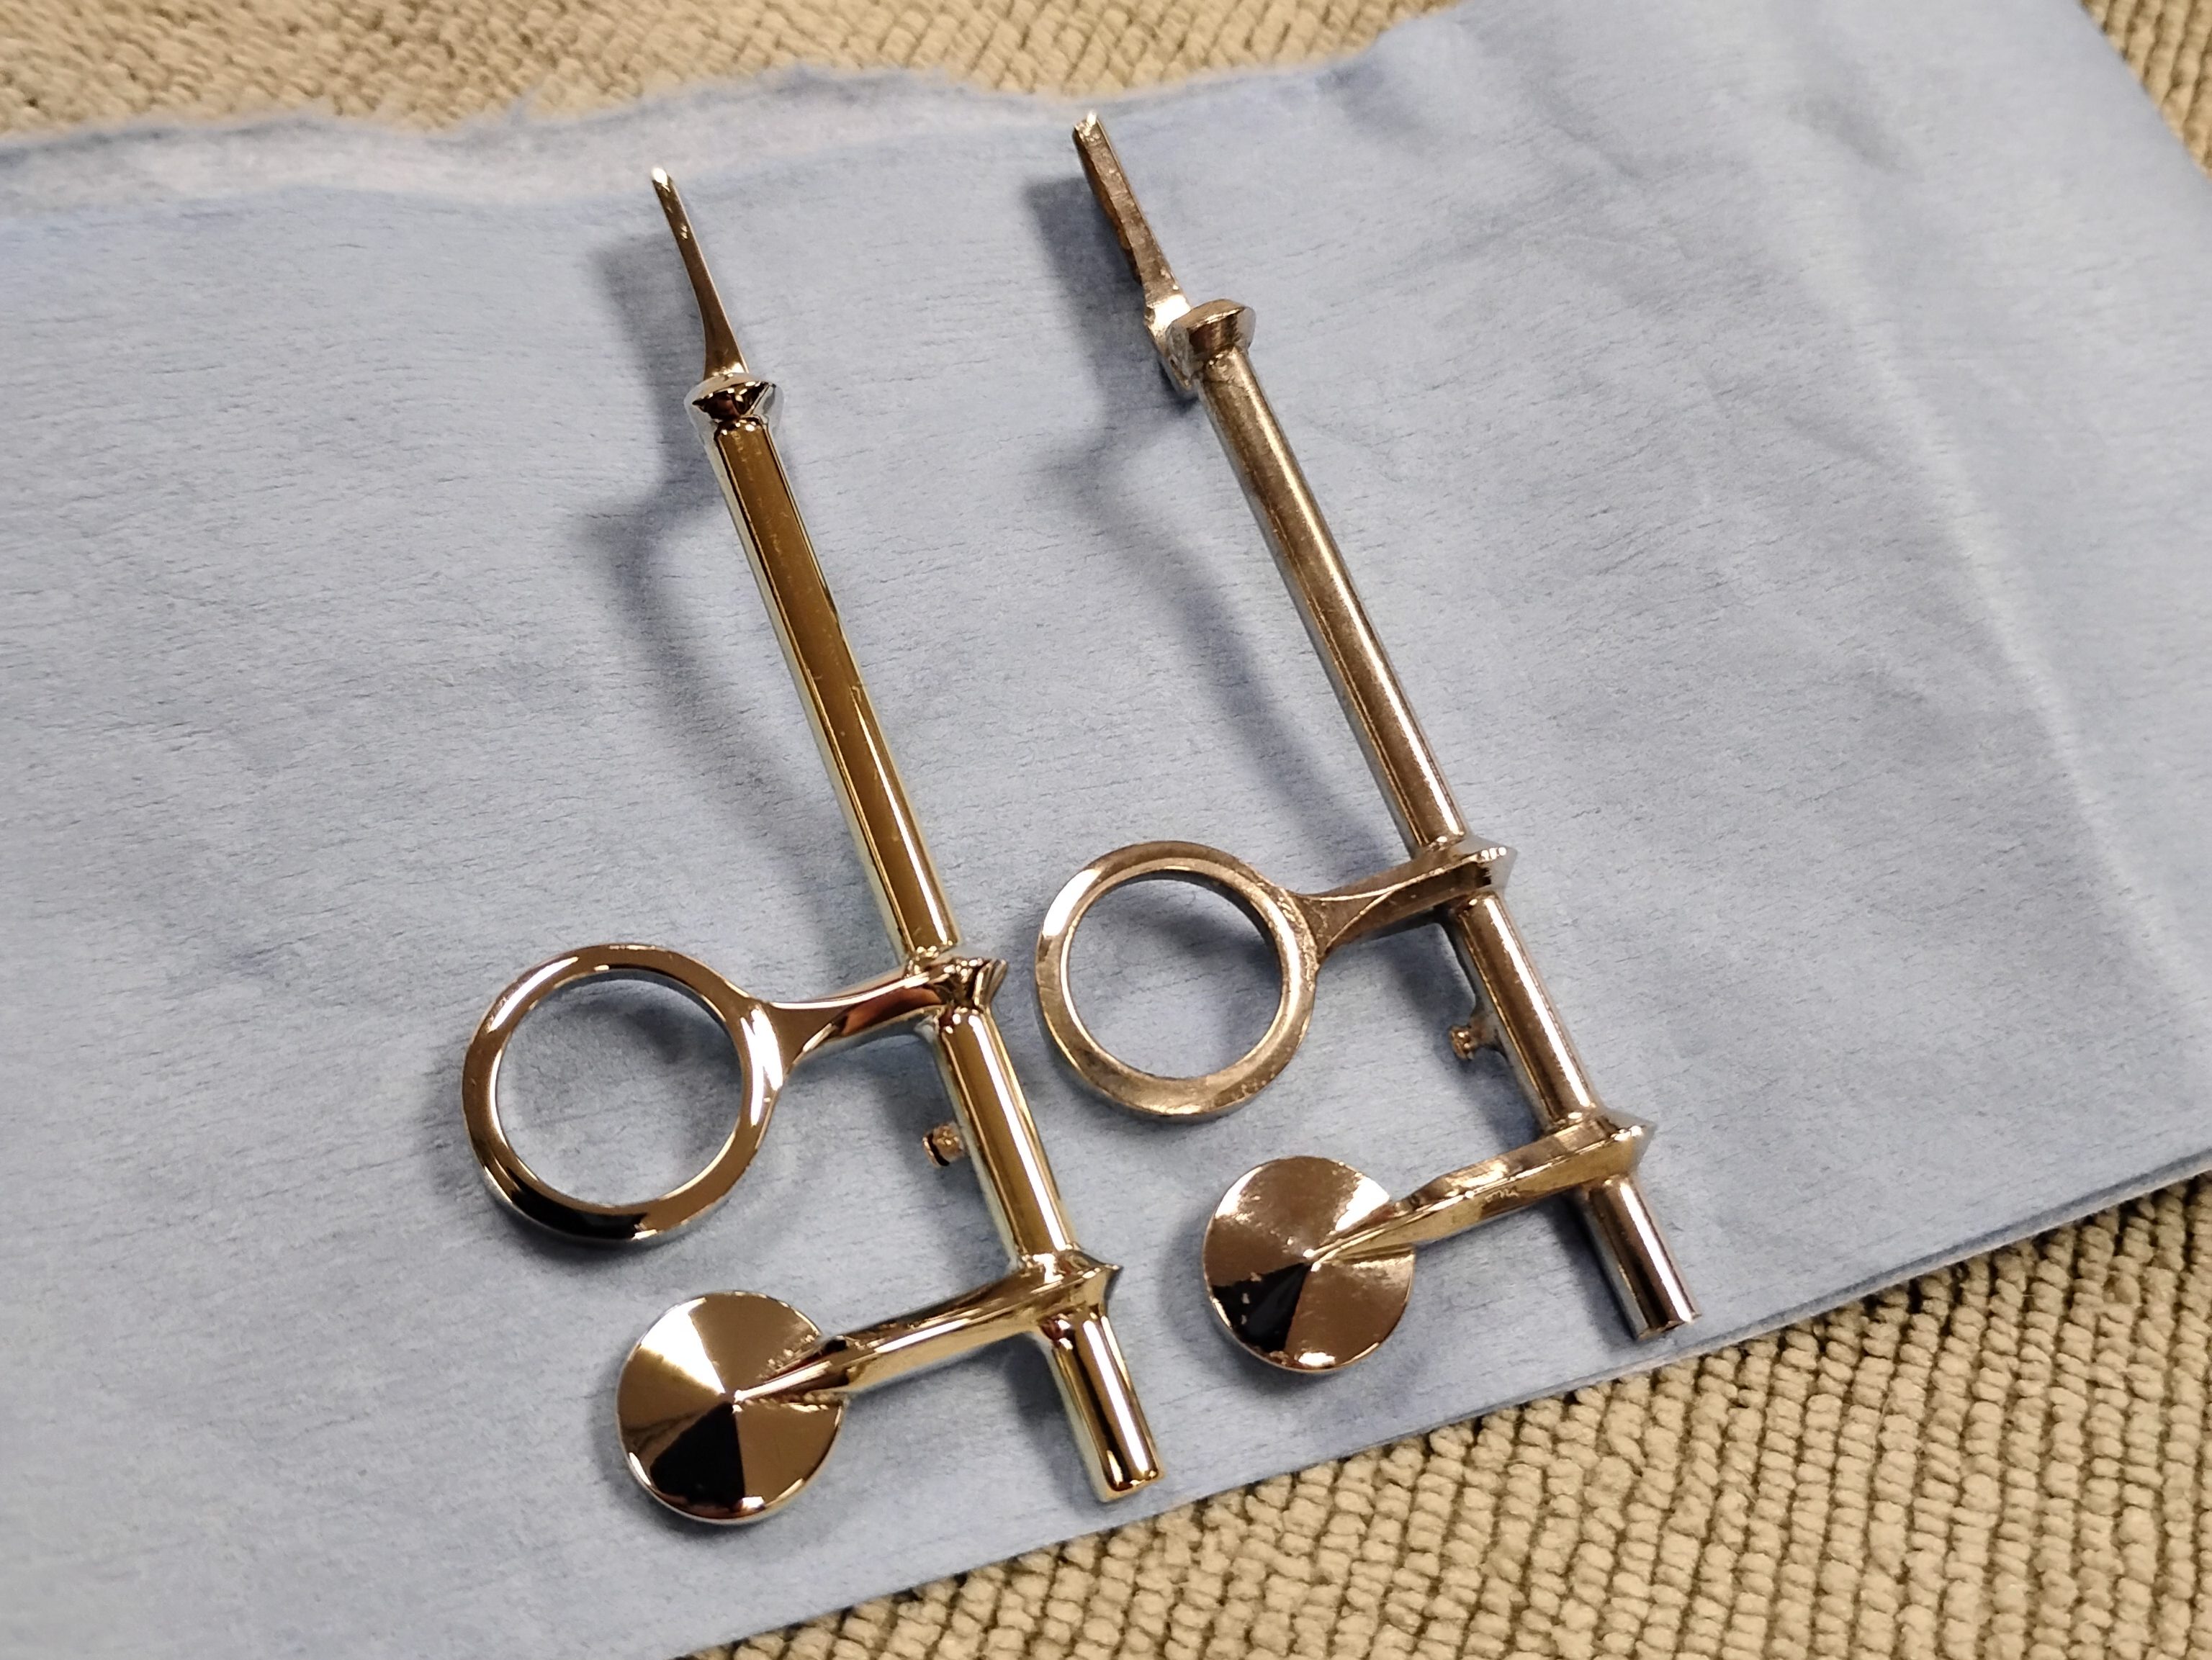
Now for the silver soldering. For this, I used a technique called pick soldering, in which I melted the solder into a ball and then placed in onto the join with a soldering pick. It’s a technique used by jewelers, which is fitting for this project. Here are the photos post-soldering, and compared to the key I was copying.
You’ll notice a few things are still missing. The new key will need a spring cradle, and its hinge tube is much too long at the upper bridge end. The hole at the bridge end doesn’t go far into the tube, but it is a perfectly centered hole, and I don’t want it to go to waste. I drilled further into the key before cutting off the end, so I still have a perfectly centered hole to turn into a screw socket.
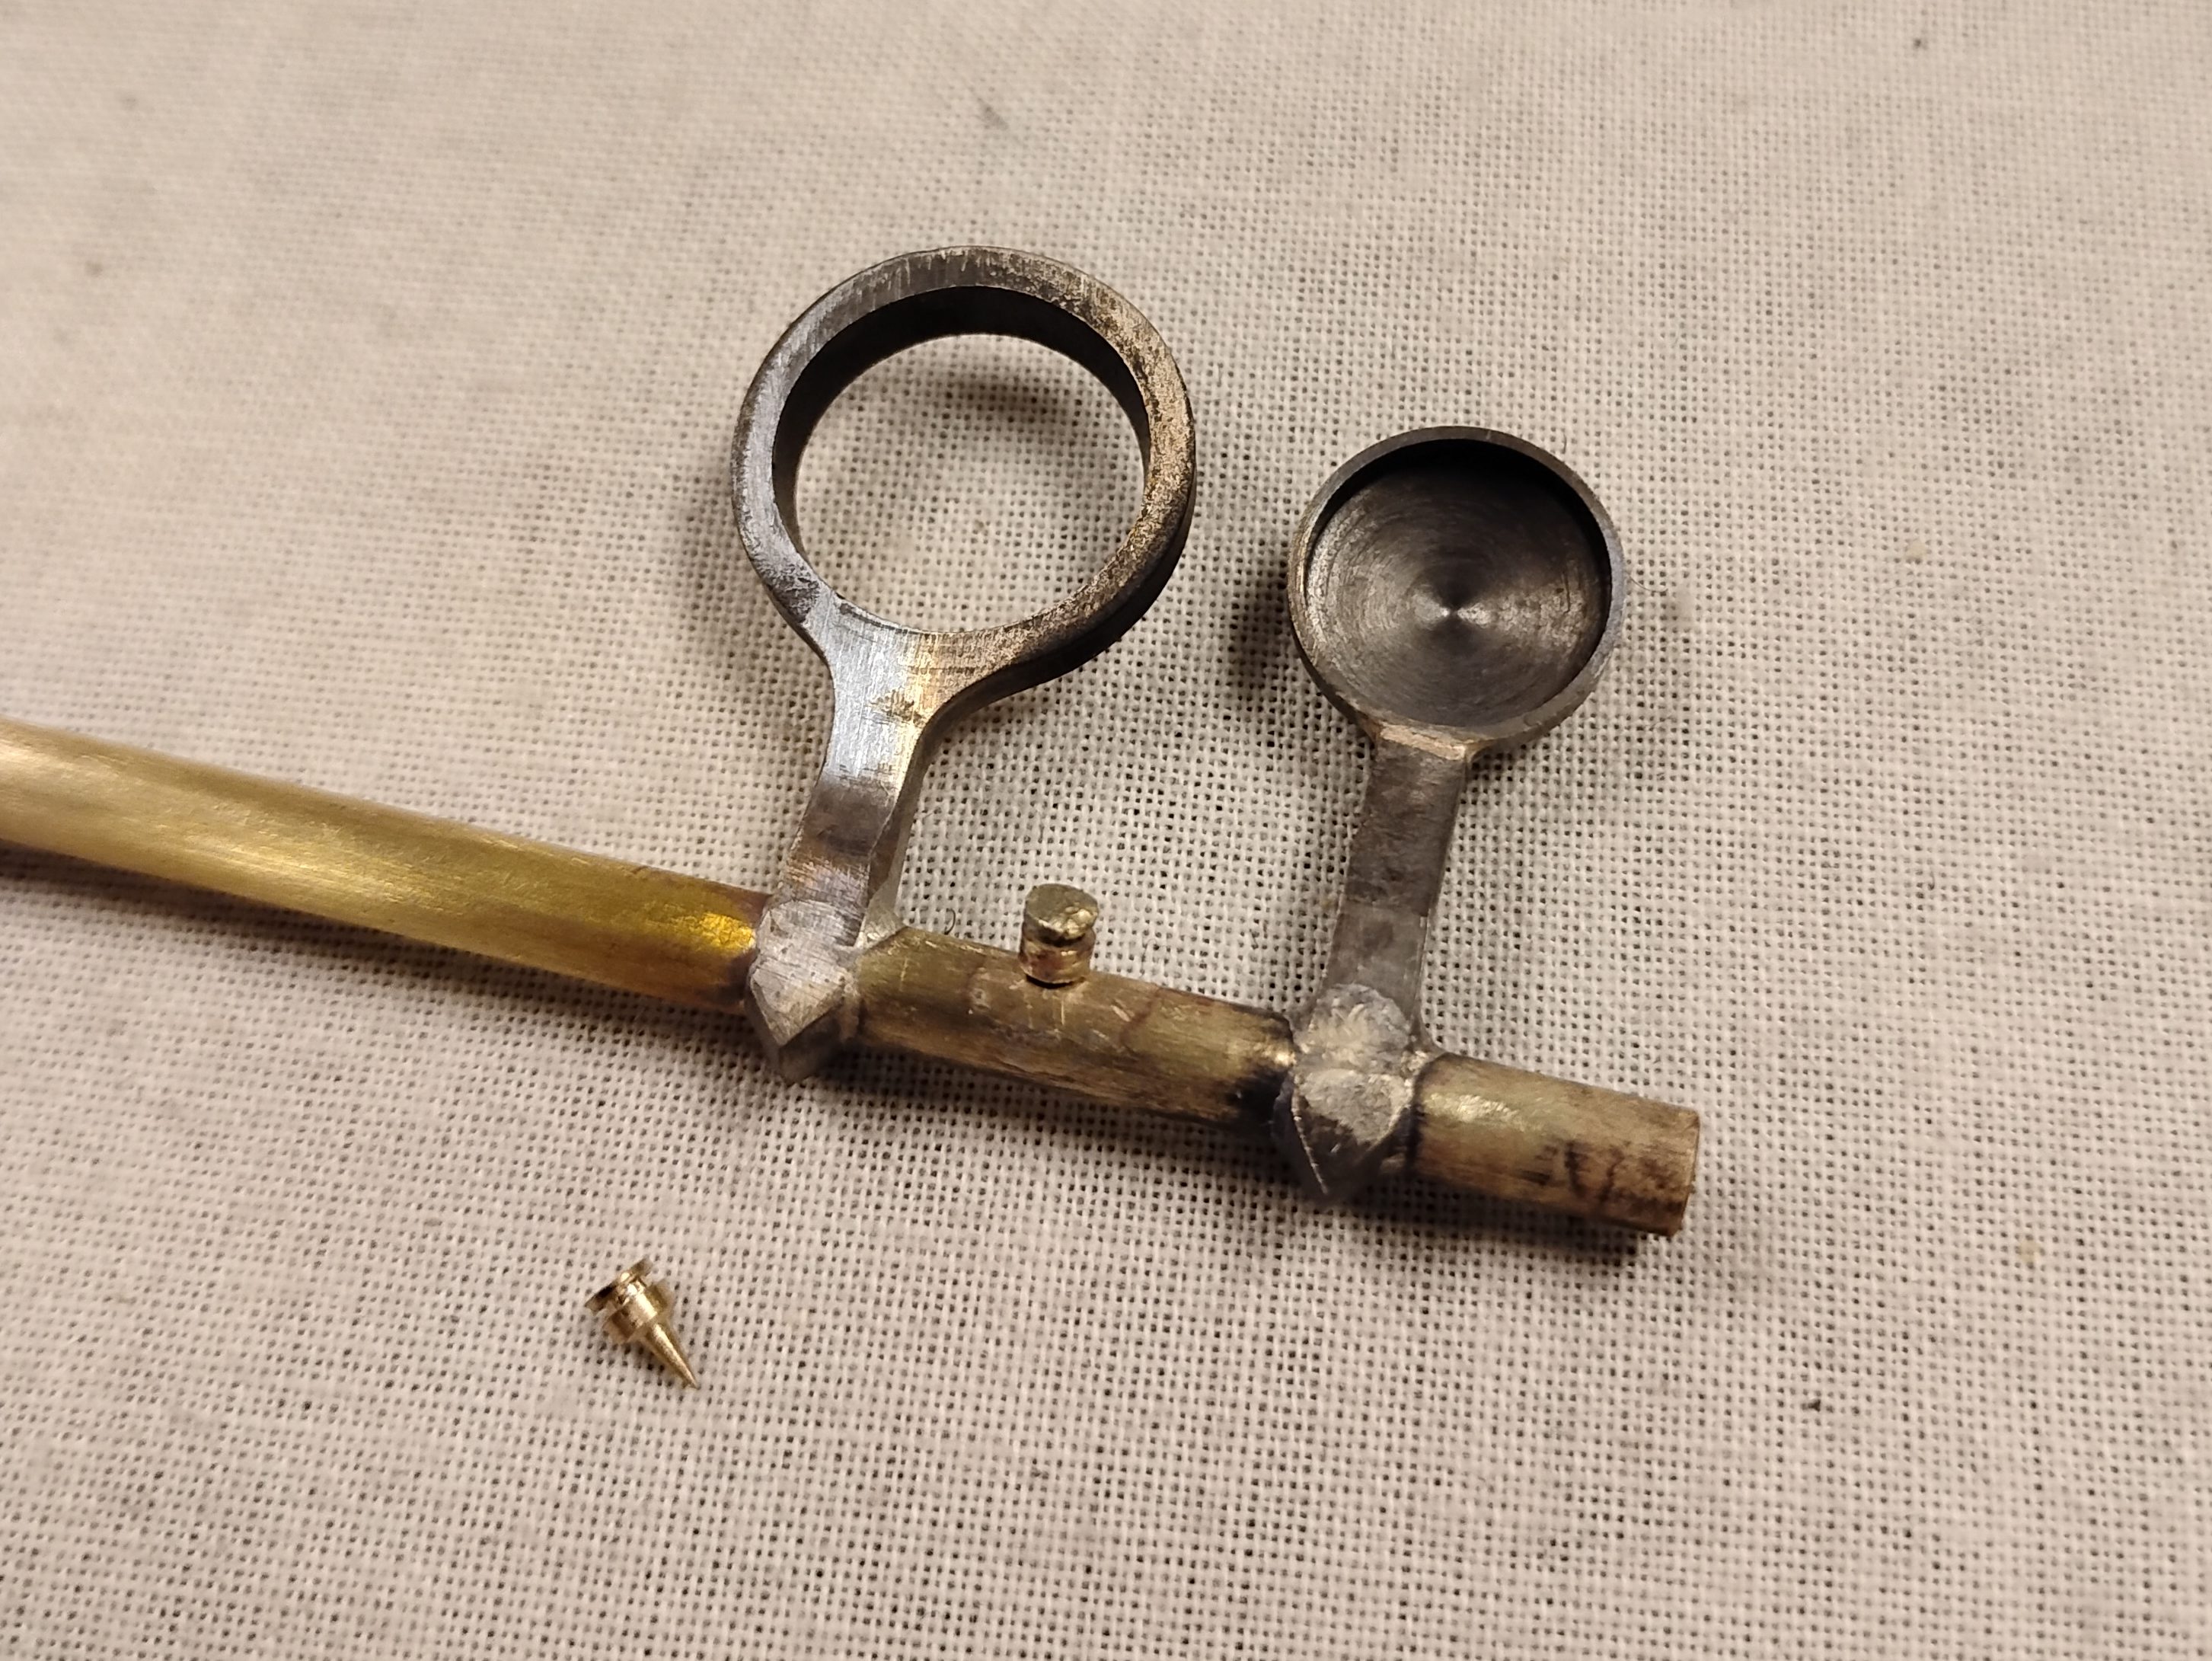
For the spring cradle, that’s something I’ll make from scratch. I’ve never made one, so I crafted two in the bench motor, and picked the better one to actually use. I matched the specs of the existing one, except for filing a spike onto one end which I’ll place into a hole I’ll drill in the key before I solder them together. Oddly, drilling the tiny tiny hole into the side of a tiny tiny cylinder might have been the hardest part of the project. Here’s pics of the cradles I made, plus how it fits in the hole, then post-soldering. (This was actually my second soldering attempted, after trying and failing to use paste solder, and you can see the shadow of the failed attempt on the rod, which is interesting.)
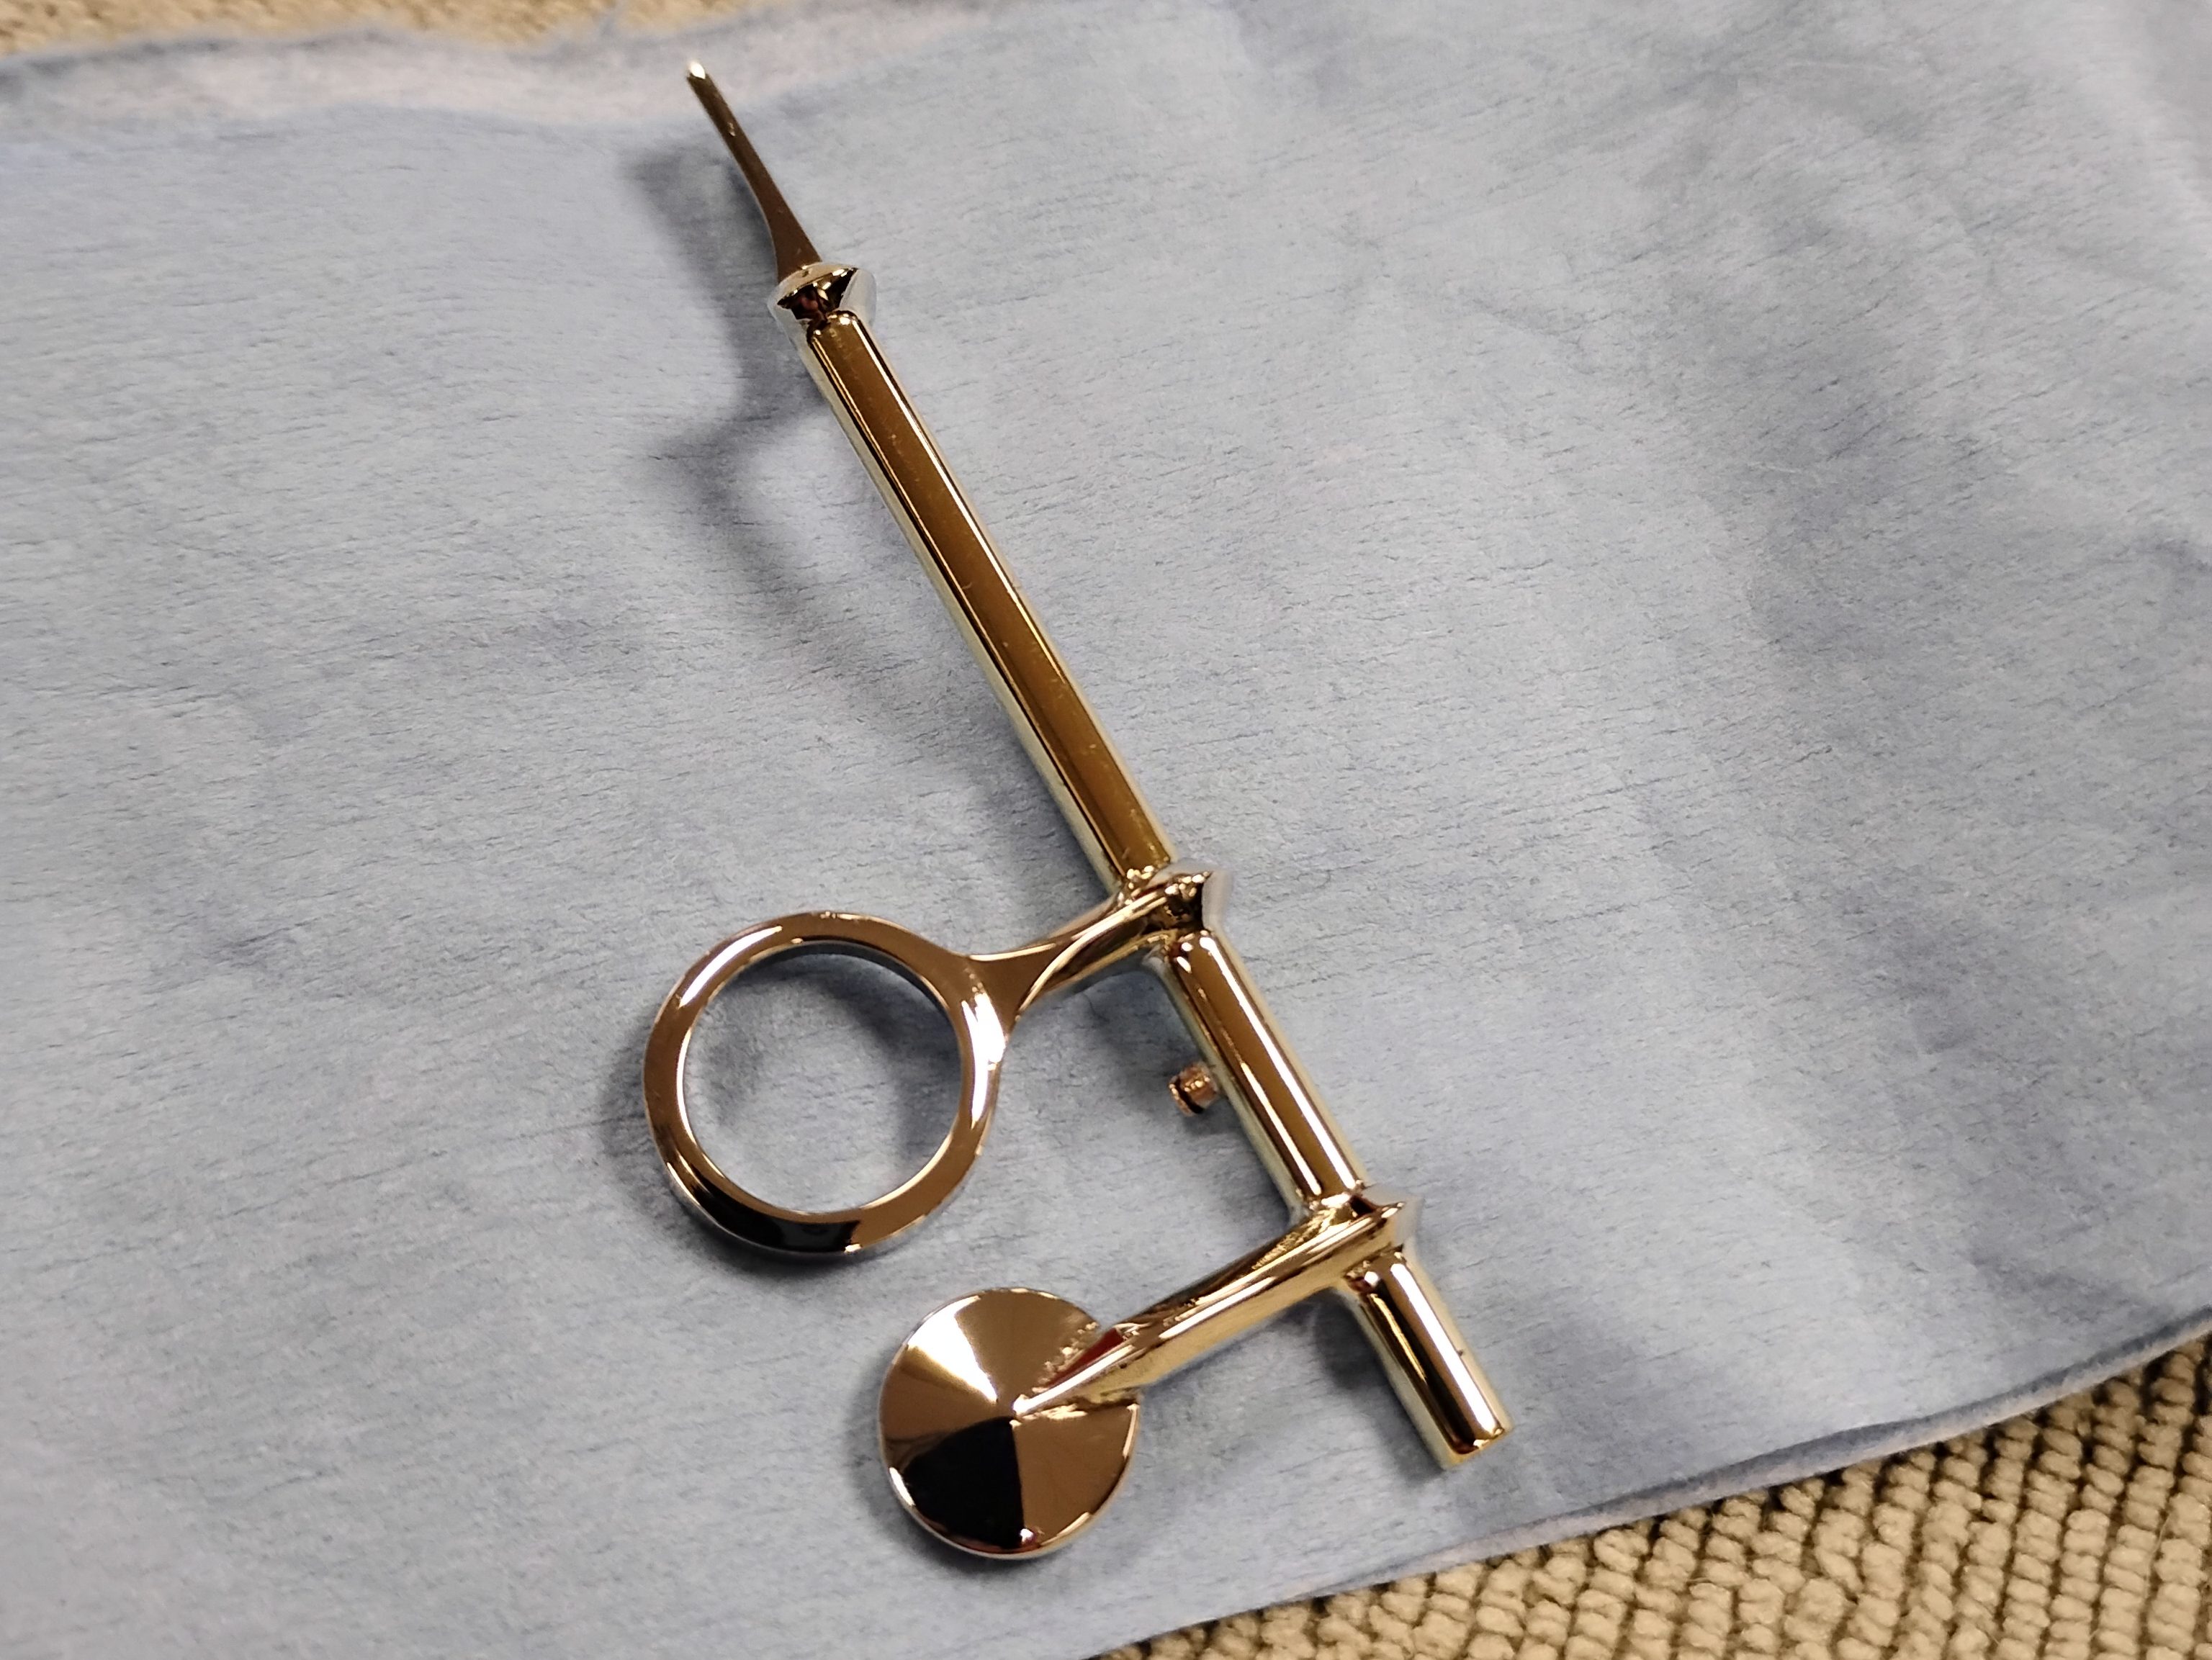
Final steps are to sand, buff, and plate. It’s looking beautiful after buffing! Stay tuned to see how the key looks after it’s been plated, keyfit, and placed on an instrument.

Leave a comment