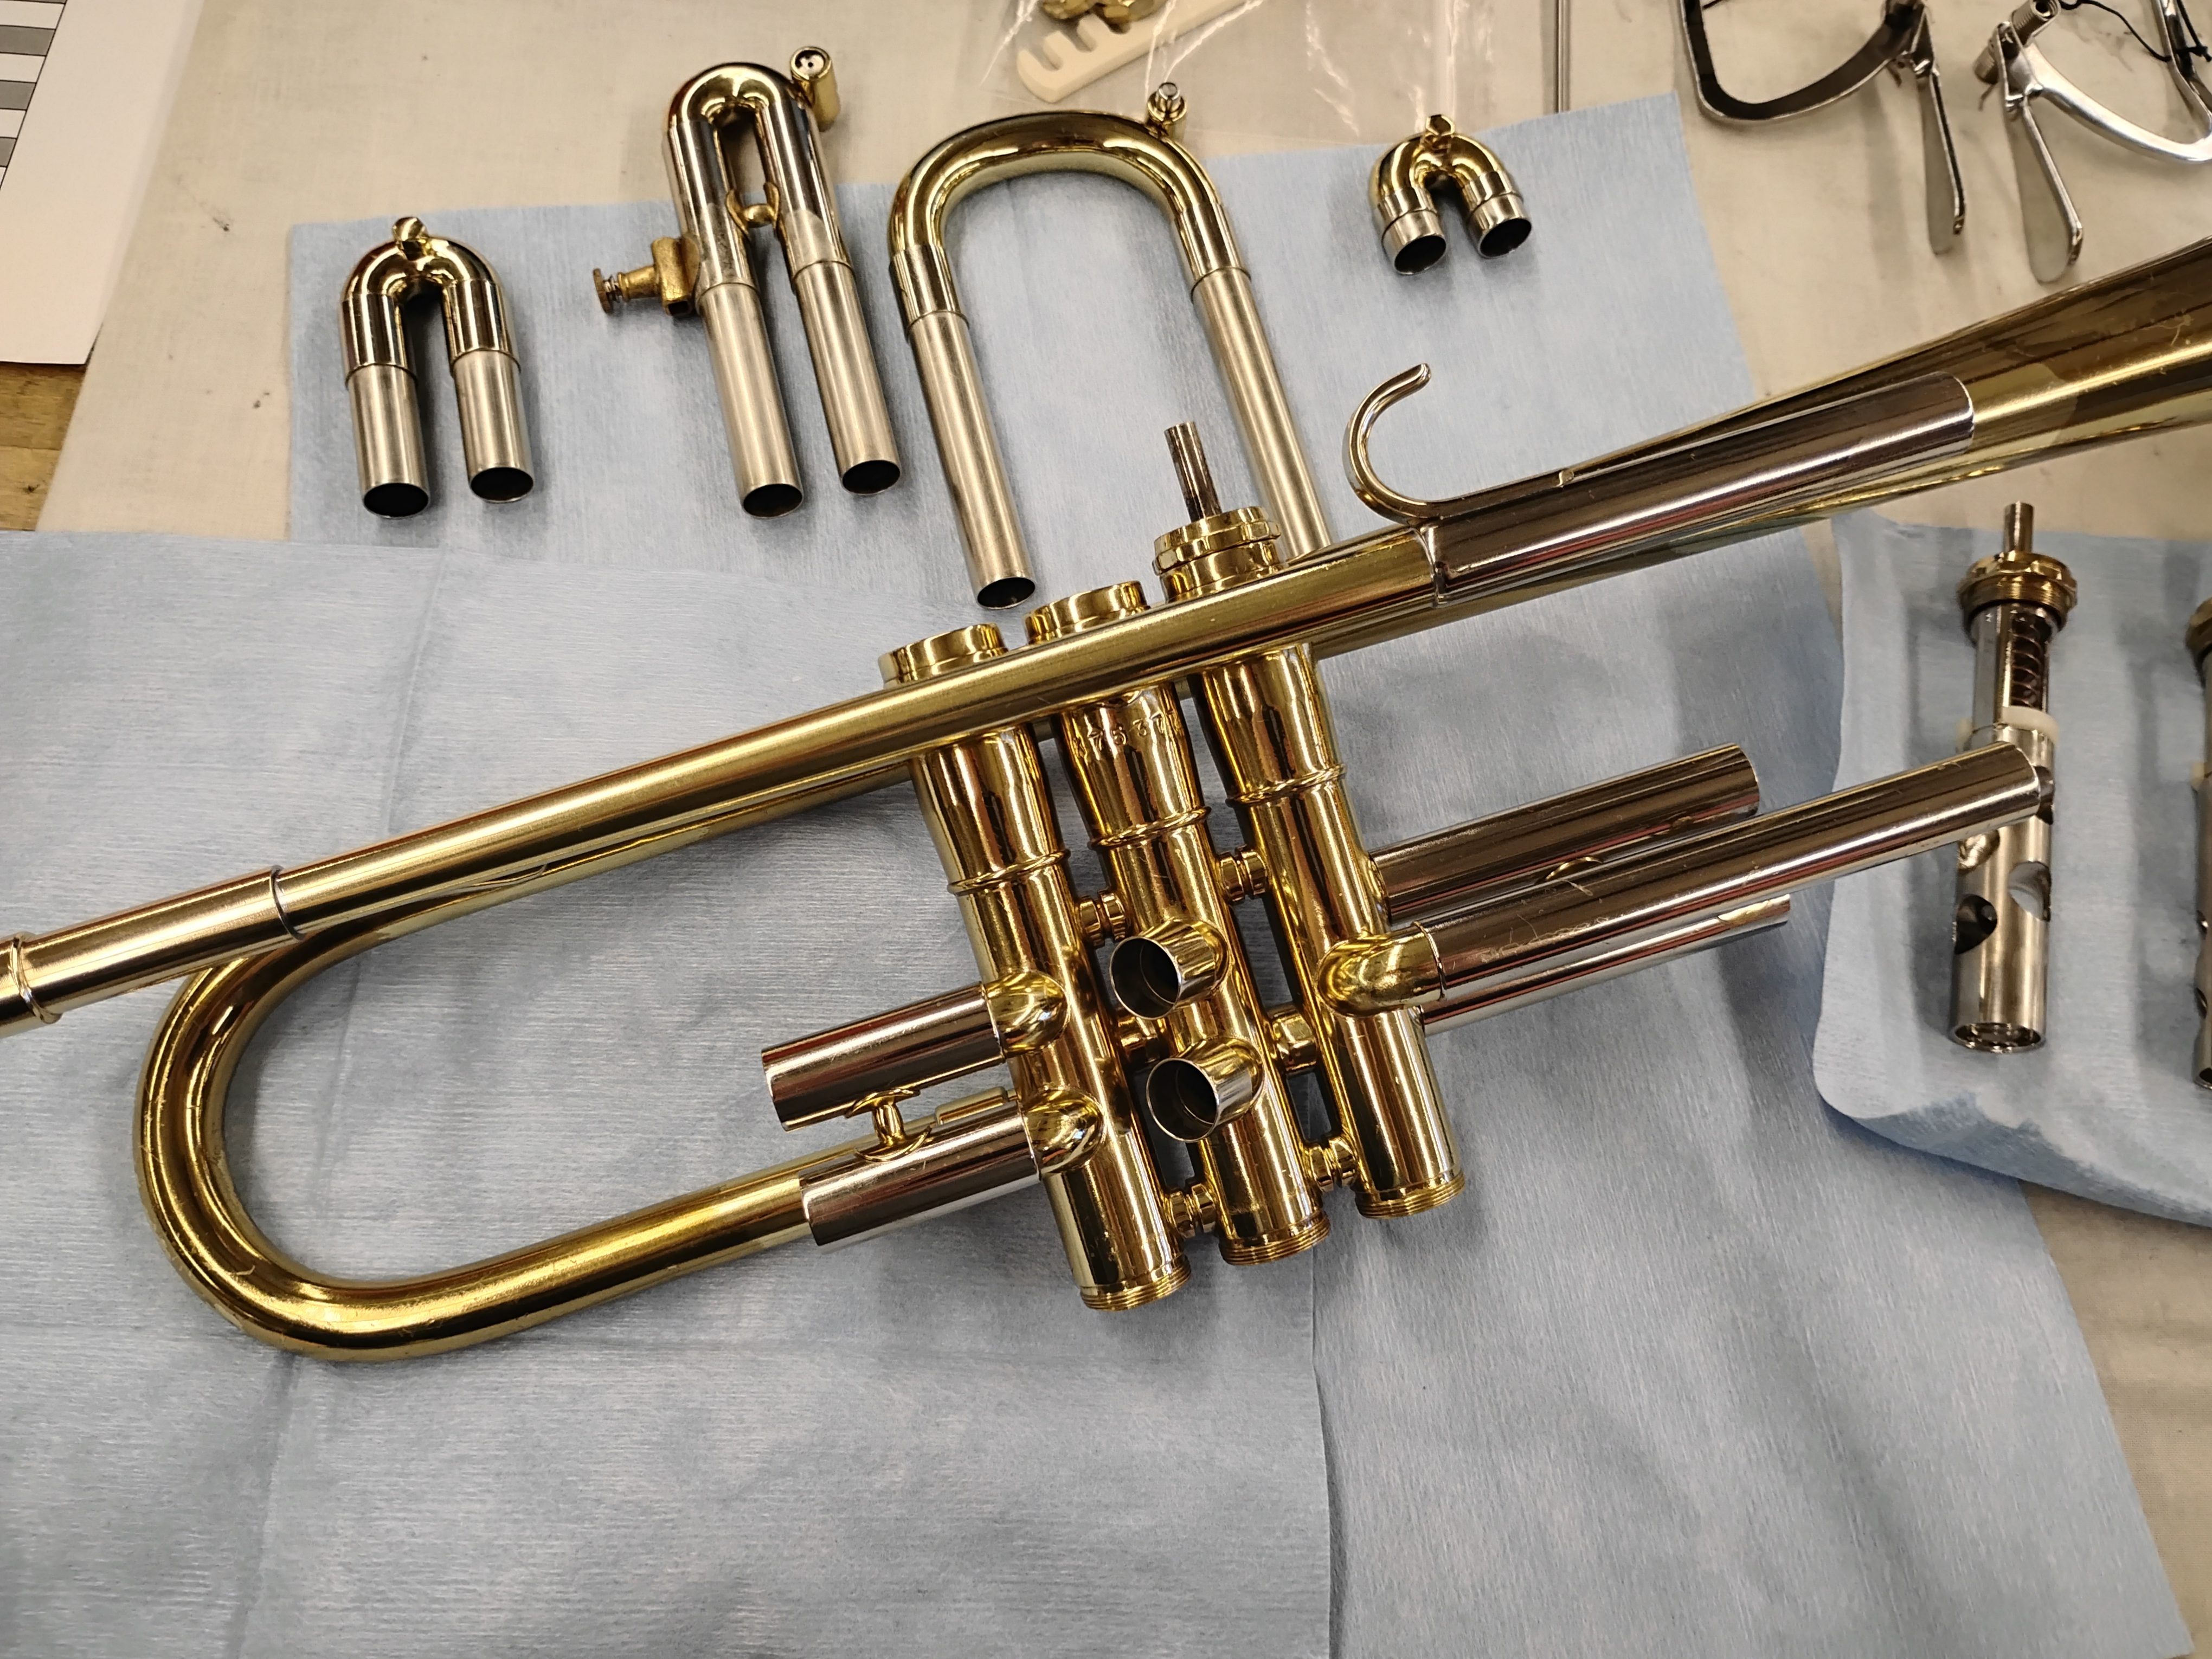
I’ve returned to brass land this winter, and the trumpet I was working on last semester has returned to me. I think we’ve developed a deep mutual resentment of each other during our time apart. I left this trumpet with a freshly soldered new leadpipe and a freshly UN-soldered bell. The bell needed to come off since it had been soldered on at an incorrect angle (it exited the ferrule pointing downward slightly, which in turn made the bell flare point upward), and because the numerous dents that were, at this point, mostly, but not entirely, gone, made it a good candidate to spend some time with curved dent roller and a lead pipe (more on that later). Now I’m eager to get it back into one piece.
I started with soldering the bell back on. First I flared the opening of the bell tail to help it fit snugly on its ferrule, which thankfully remained on the instrument when I took the bell off. I positioned the 1st slide to bell tail brace at this time too. We replaced that brace, so I took some time with fitting a universal part. I squished it to lessen the span, and slightly decreased the radius of the curve to fit it better to the tube.
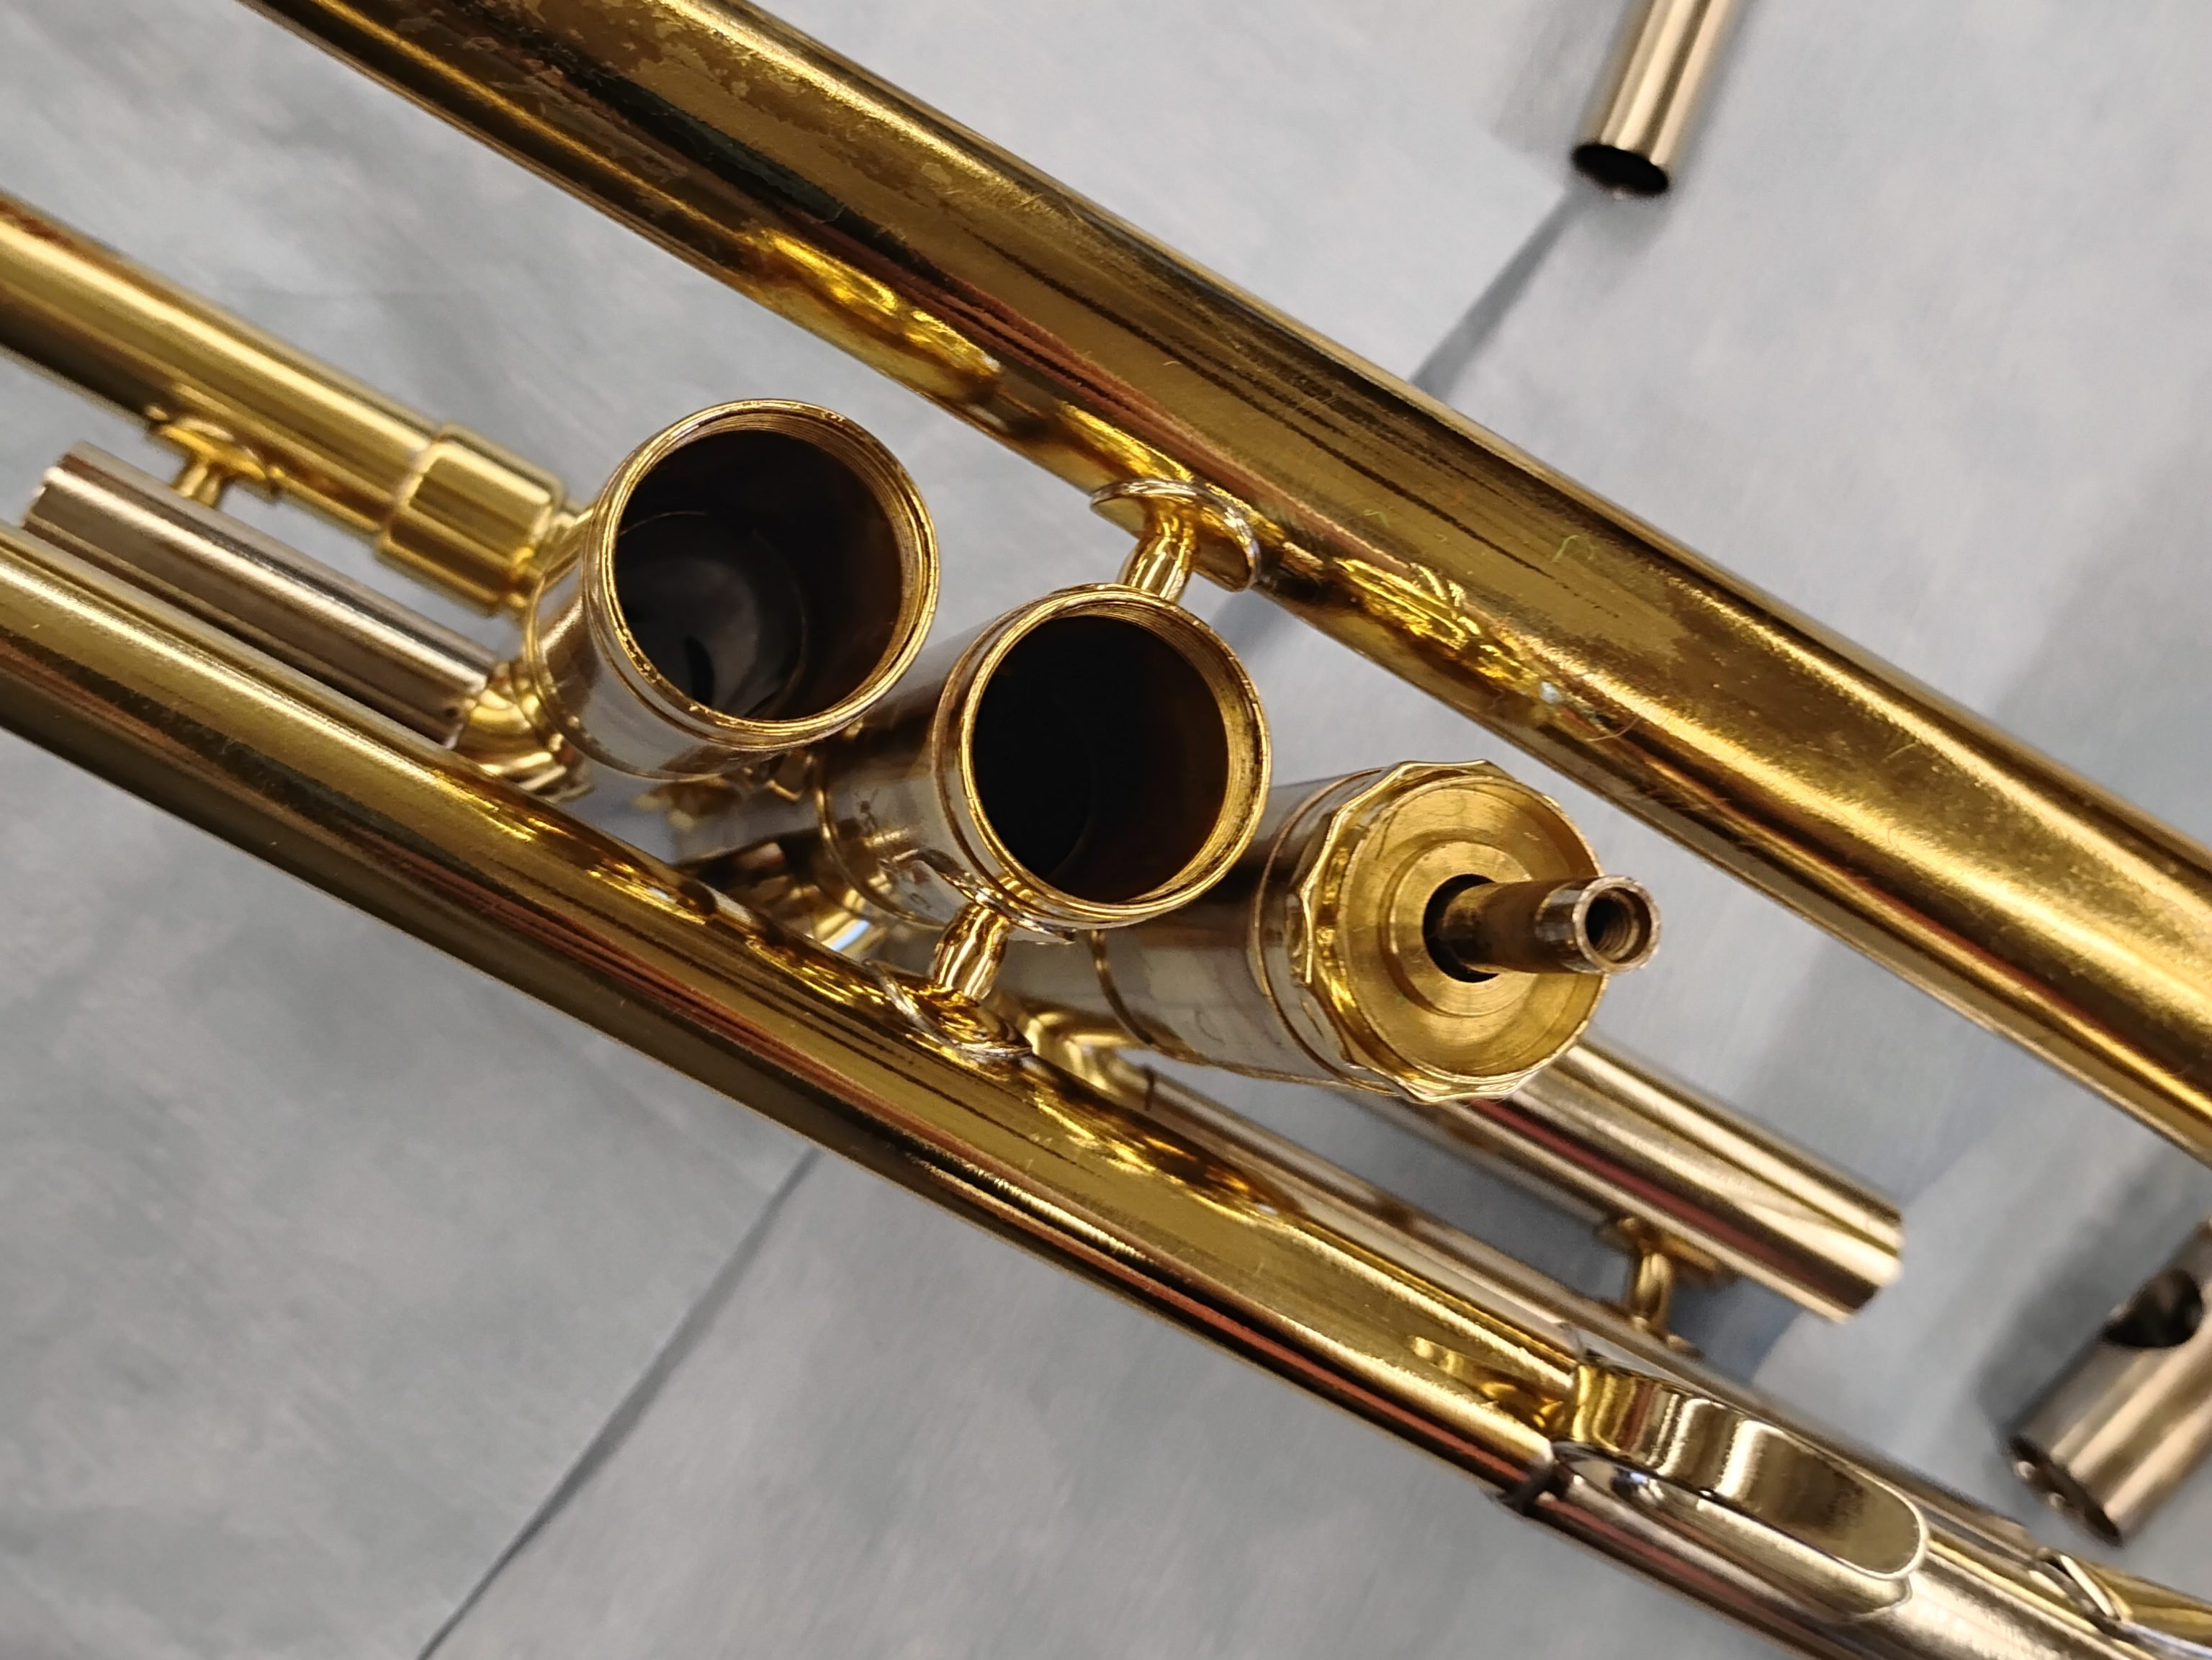
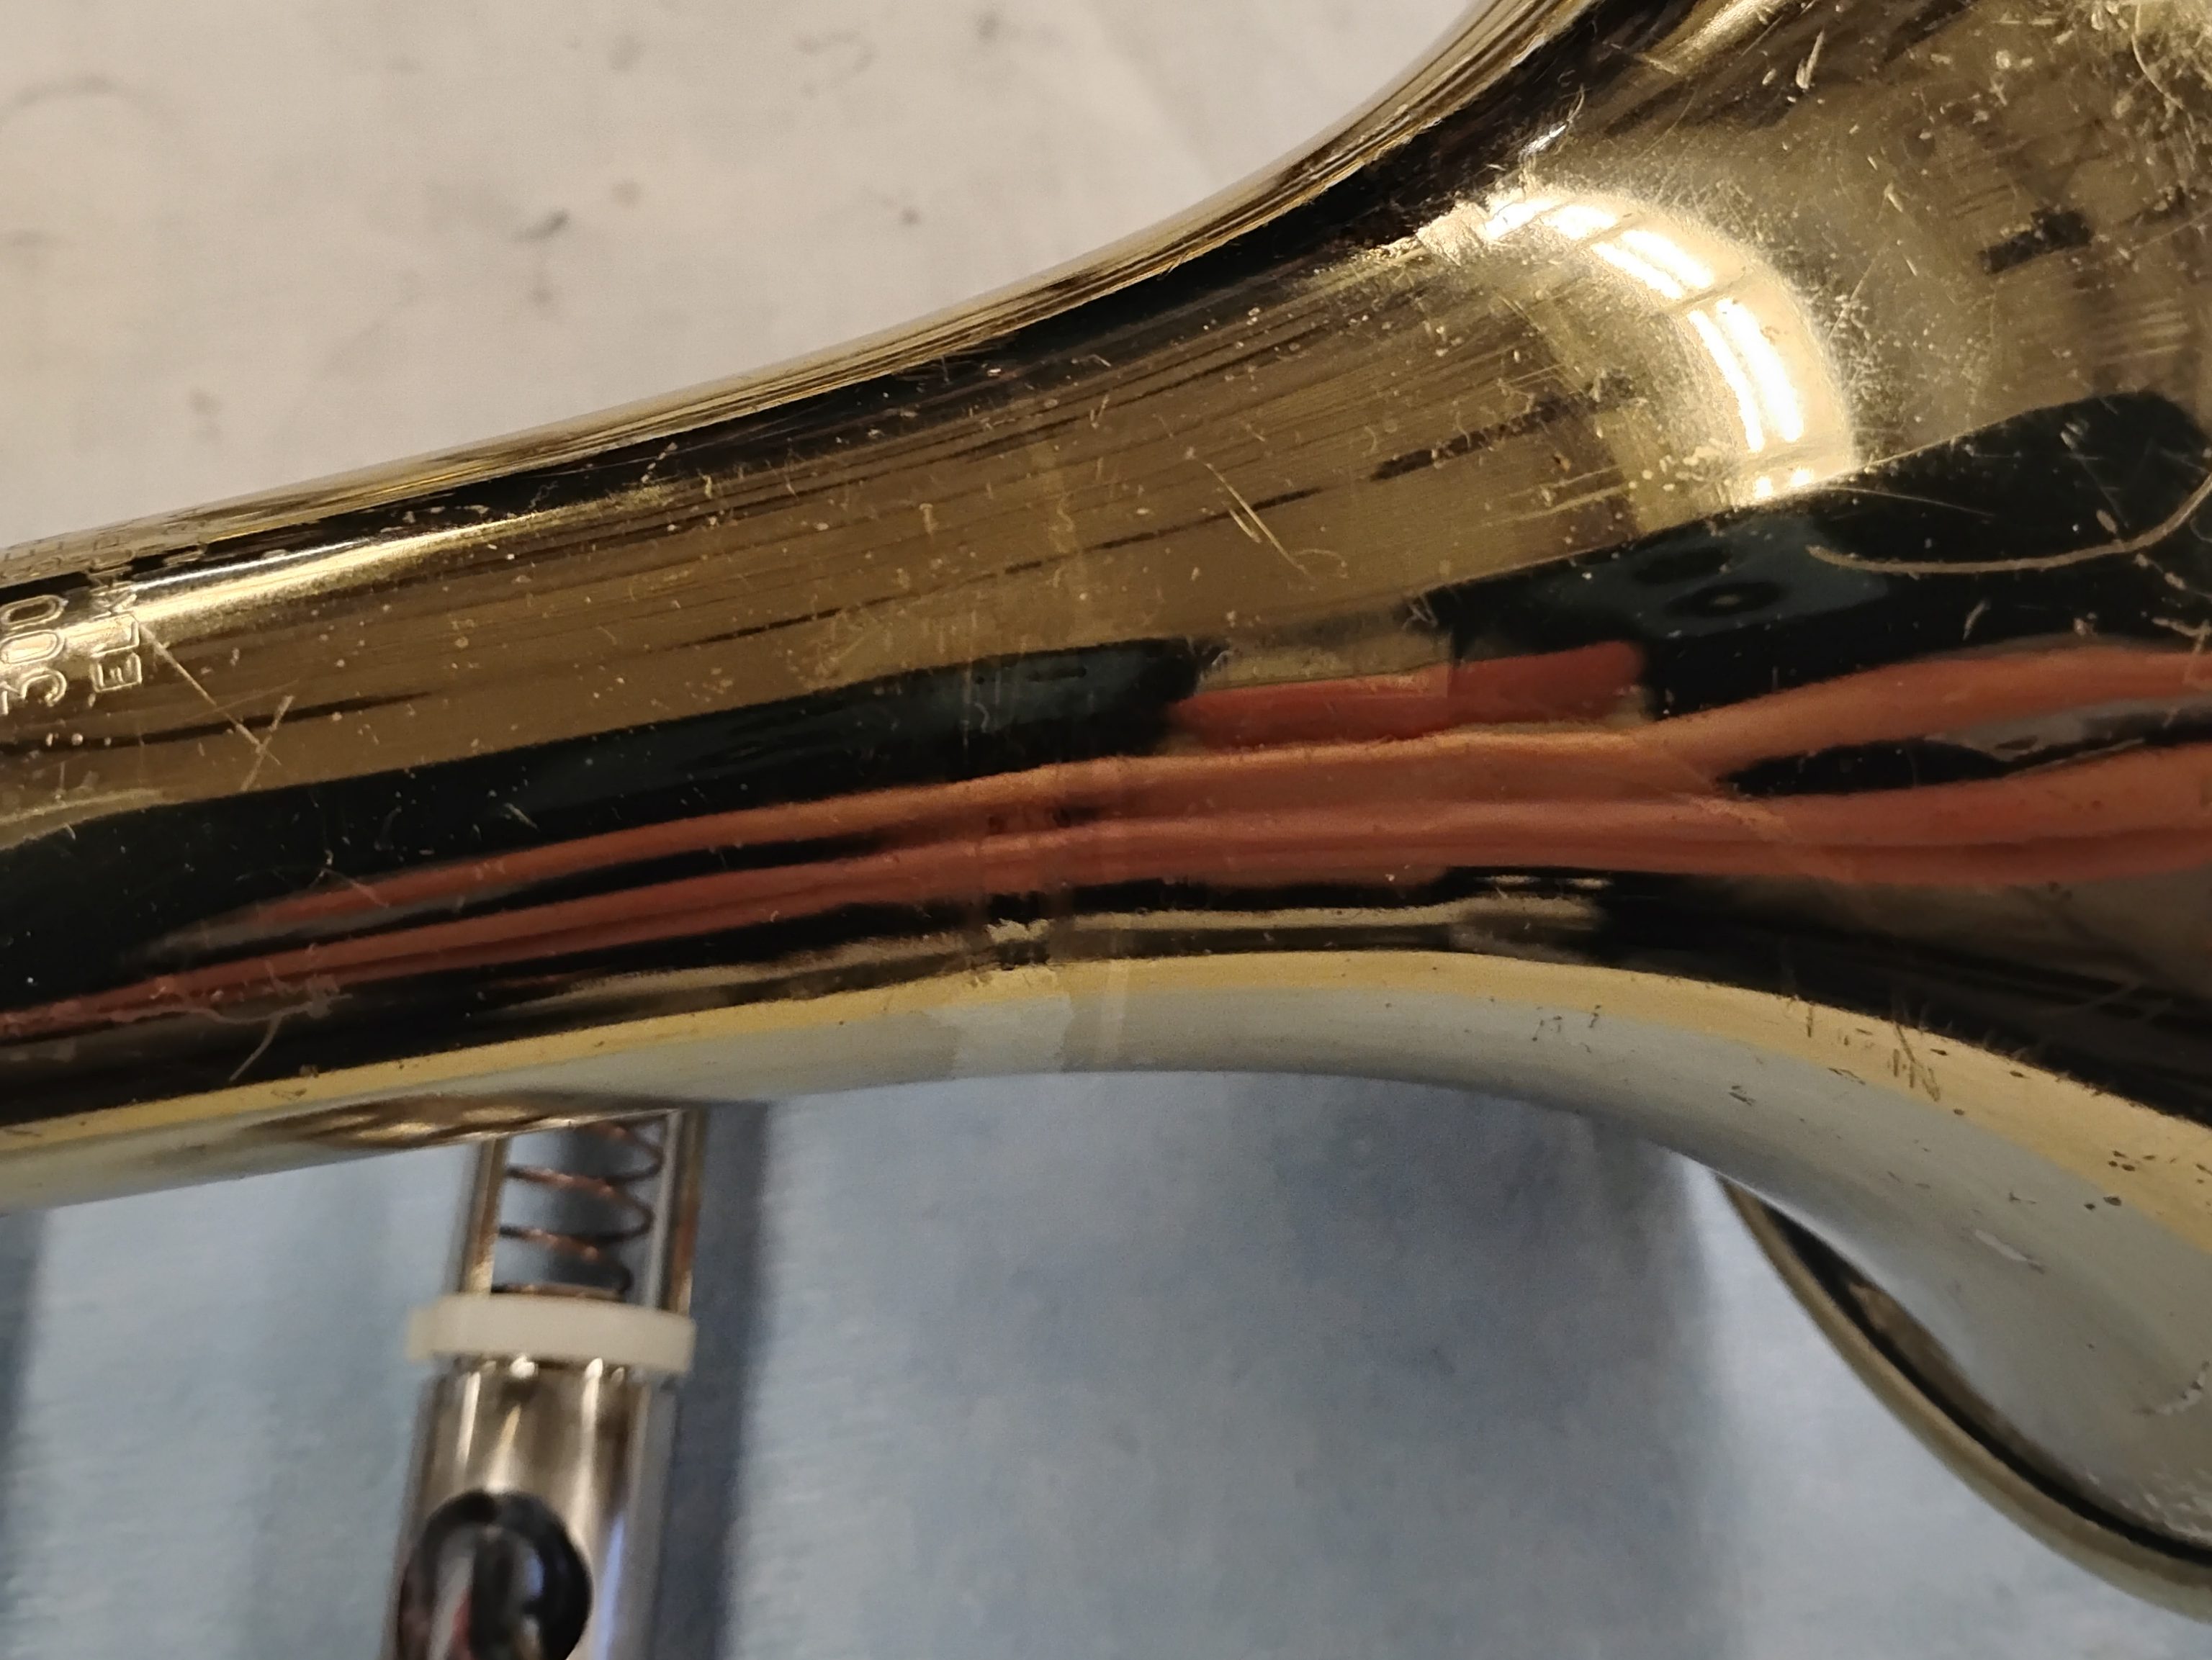
I’d heard that not too long ago, people typically soldered bells back on by just holding it at the casing braces with one hand and holding solder in the other, with the torch on the bench. I gave it a good try that way before deciding that I’m much less likely to accidentally heat parts of the instrument I don’t want to heat if I can fixture the trumpet and hold the torch. So with the bell held on by pipe cleaners on either side of the casing braces, I triple checked all my alignments, and soldered first the tail, then the casing brace, then the 1st slide to bell tail brace. Thank goodness it all went well! Then it was just a matter of the S-braces and the finger hook going back on. Here’s the trumpet now, after buffing and spot lacquering all the spots that I soldered.

Another fun update on this one: this trumpet had a beautiful dent in the bell throat when I received it. It was a ring that went about two-thirds of the way around the throat, with the brass pushing exclusively outward, not crinkling inward at all.
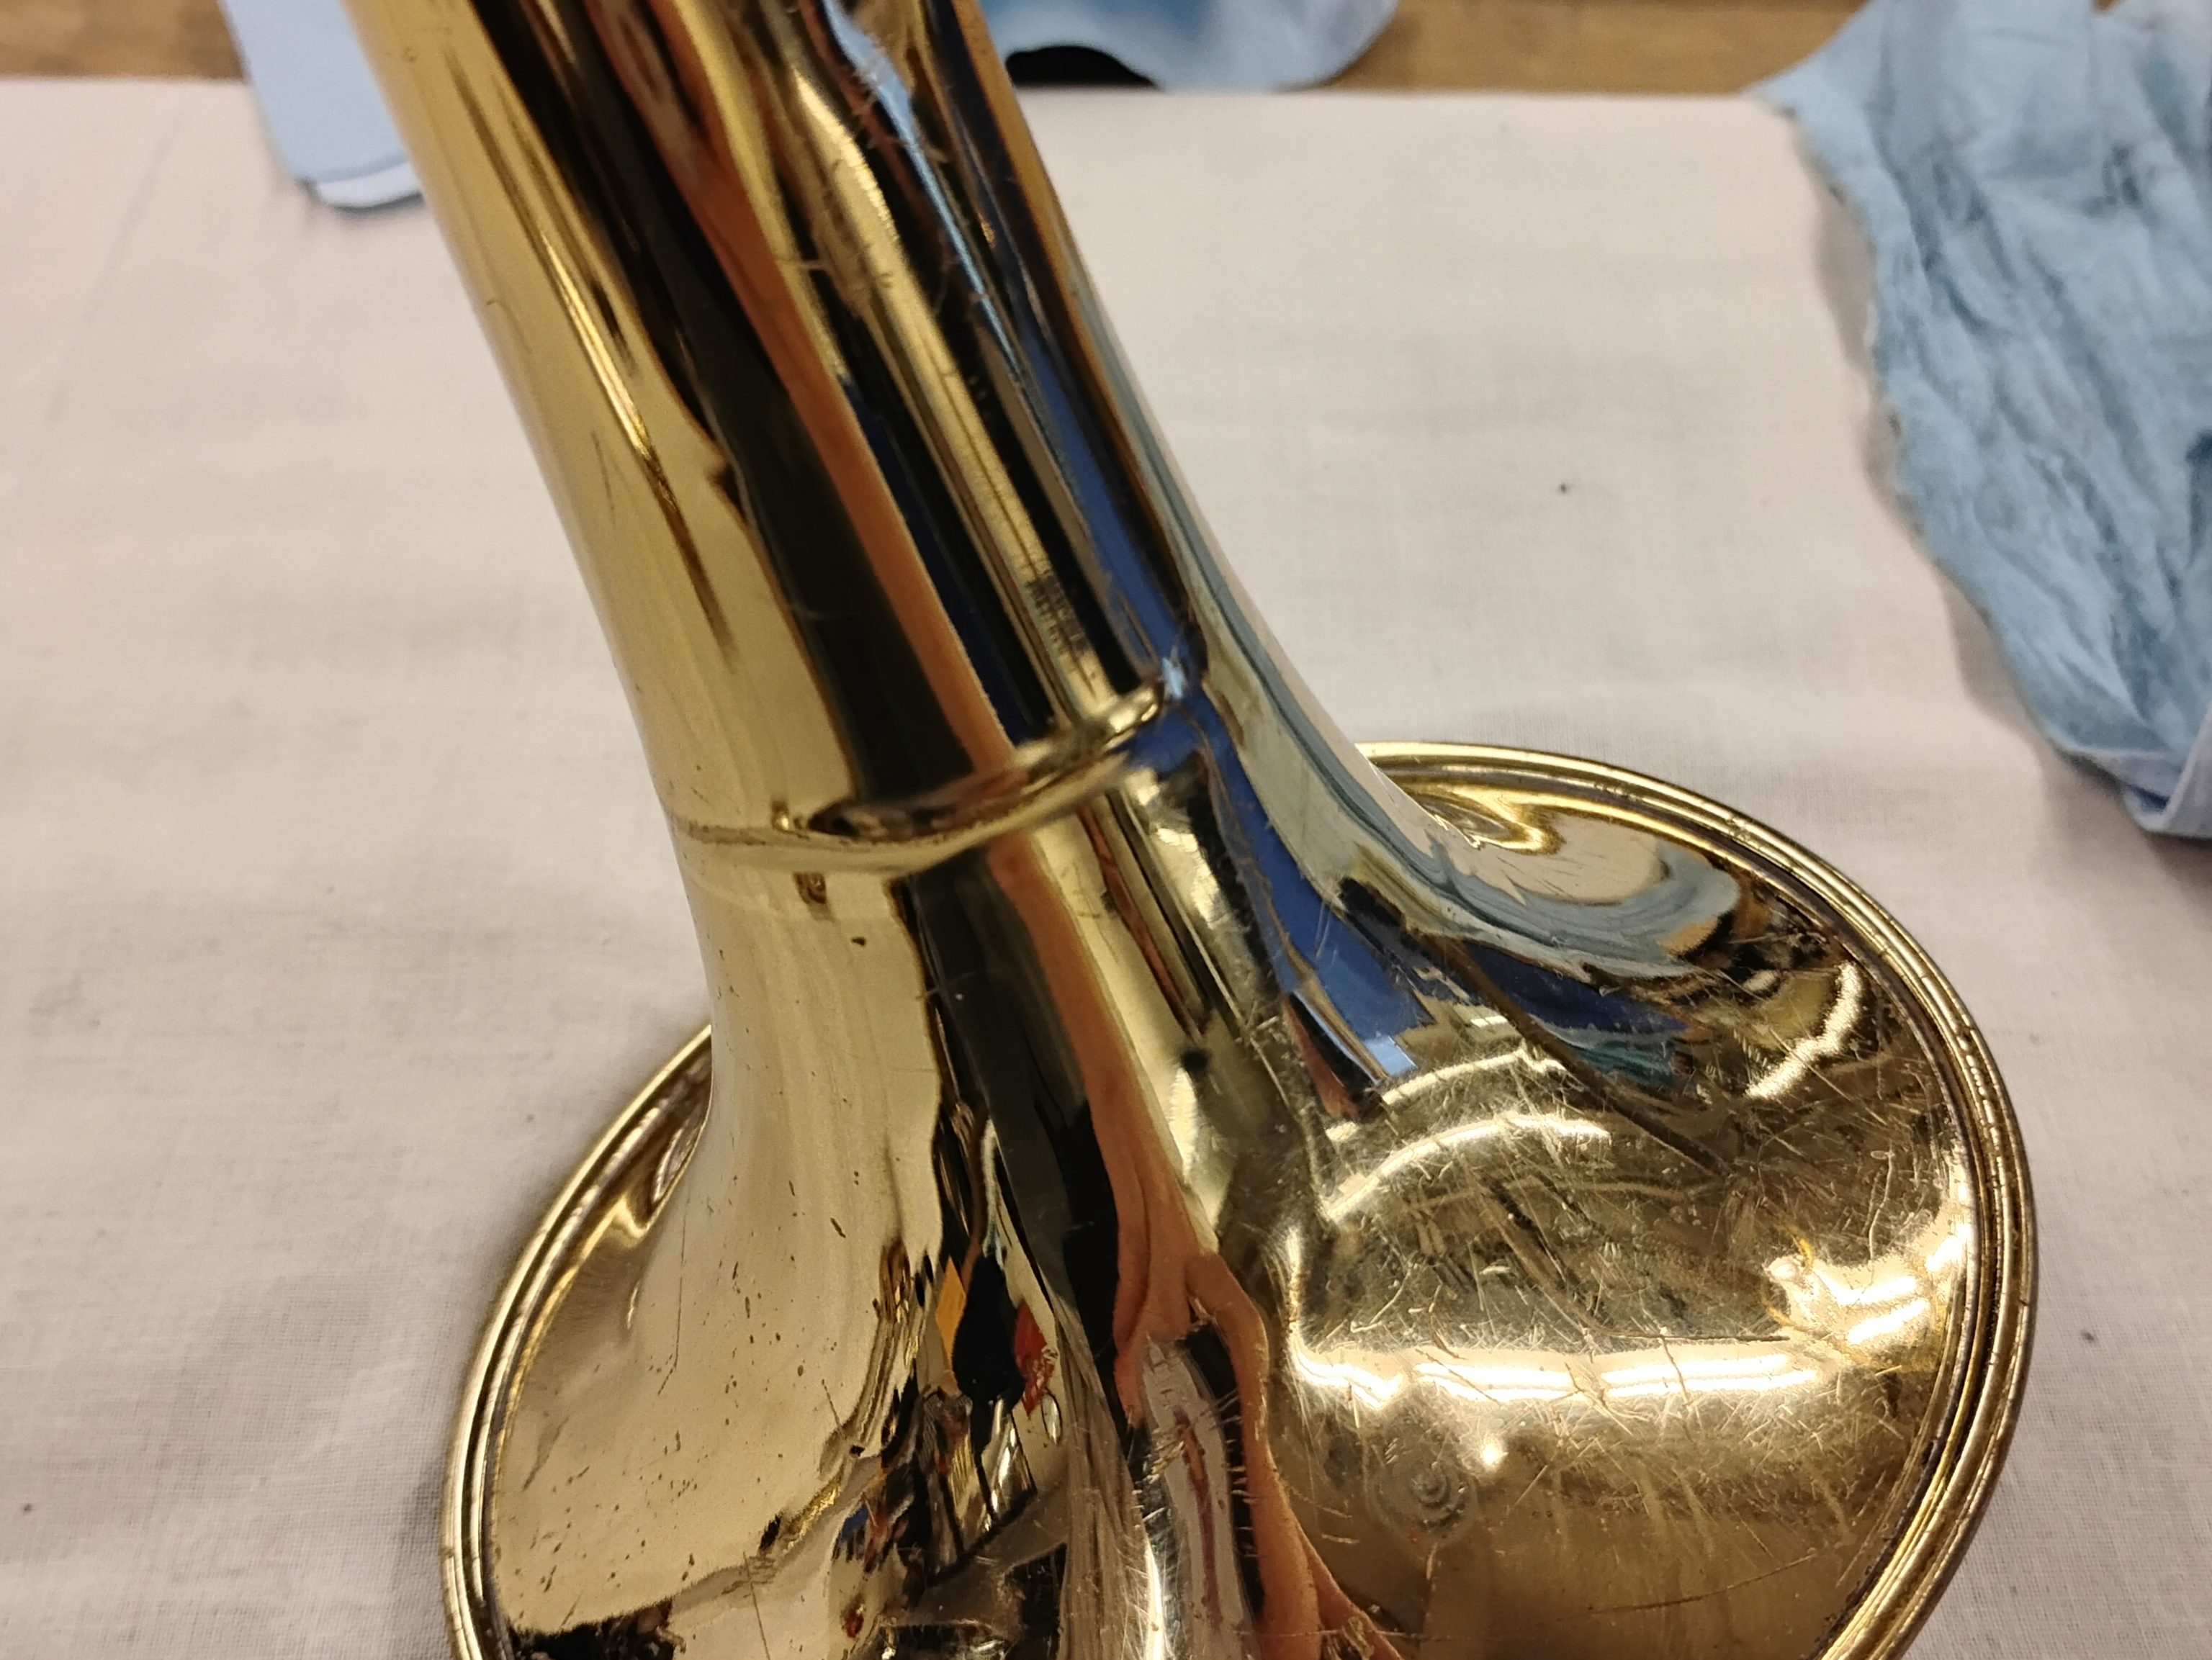
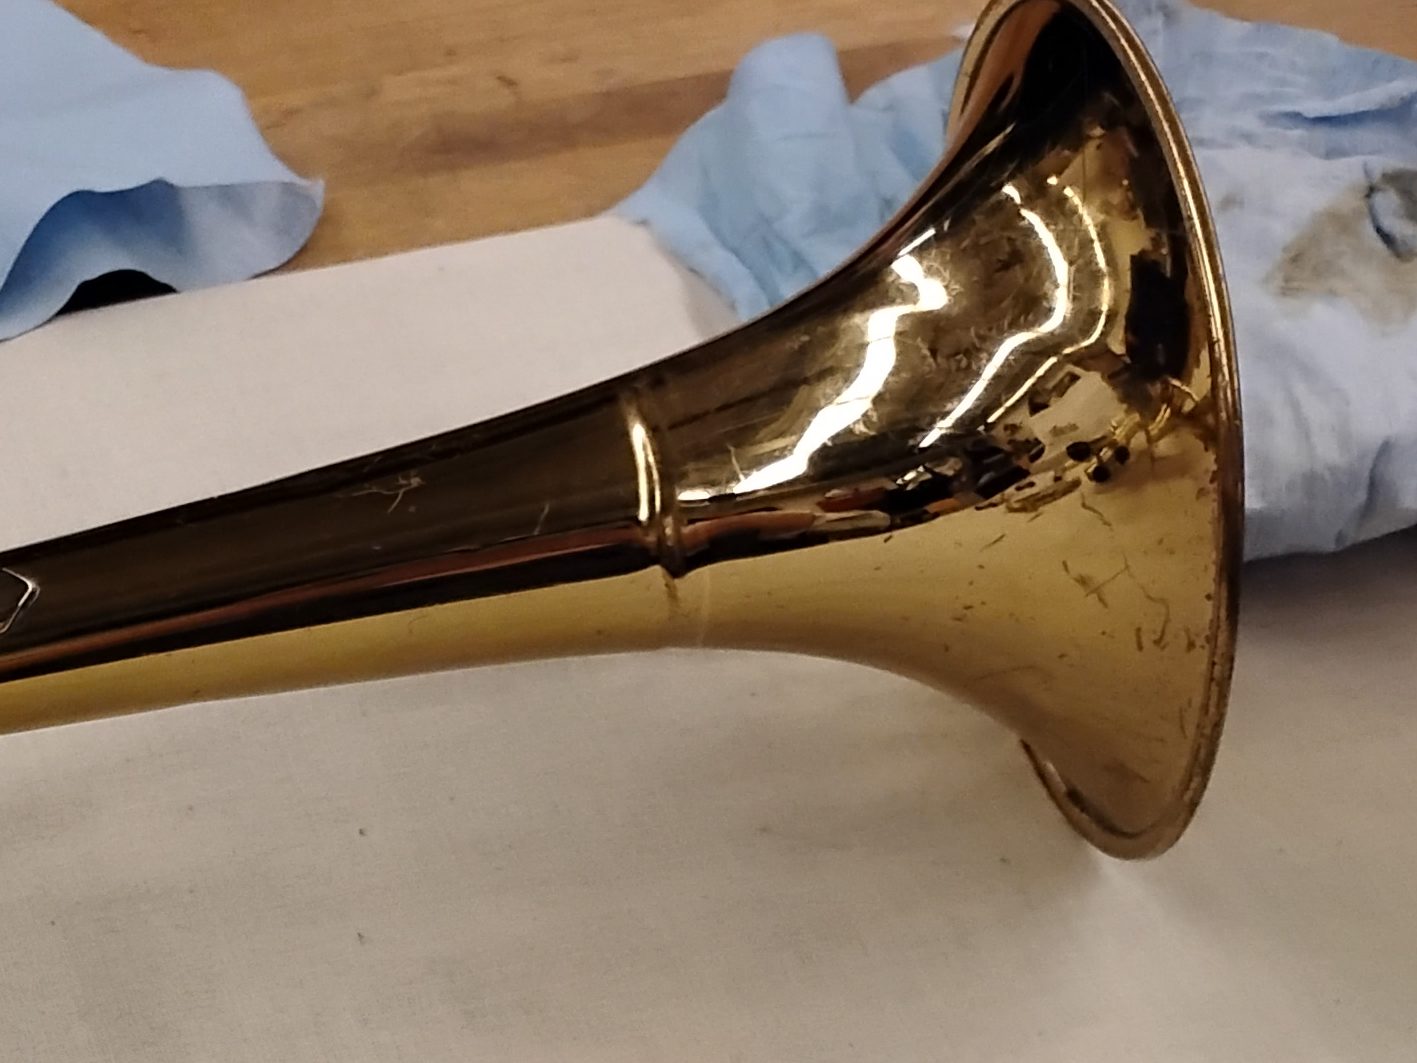
The crinkle was pretty sharp, so I wanted to be careful not to do anything that would fold the brass. A flat dent roller isn’t an option for fear of turning the tight radius of a trumpet bell into a polygon. That left me with tapping with a mallet. It took quite a while, but I began by tapping with a very domed delrin mallet, the bell only supported by wood, and eventually transitioned to tapping with the flatter side, as the dent got duller, and supported the bell with a metal mandrel. I finished with a little bit of re-rounding with the mandrel, burnishing, and finally the buffing that the whole trumpet got before the spot-lacquering post-soldering. It turned out so nicely!
I was really pleased with this work, not only for the good result, but because I was able to identify a good method for resolving the issue, and I stuck with that plan, even when progress was slow, rather than second-guessing my decision or switching to a different technique, and in the end, it tuned out exactly how I wanted it it. In brass class, I’ve been struggling a little with just how many ways there are to accomplish a goal, and find myself changing plans frequently trying to find the “best” way. But I’m coming to learn that often, a single solid plan and total dedication to it produce a better result than fretting over the “best” way to do things.

Leave a comment